Design

While watching some highly educational TV in my living room one day, I finally decided that it was time to try and do something about the sofa side table lights reflecting off the screen. I still wanted to be able to have some ambient lighting in my living room while watching TV and movies, so I quickly landed on designing a wall sconce that I could 3D print at home.
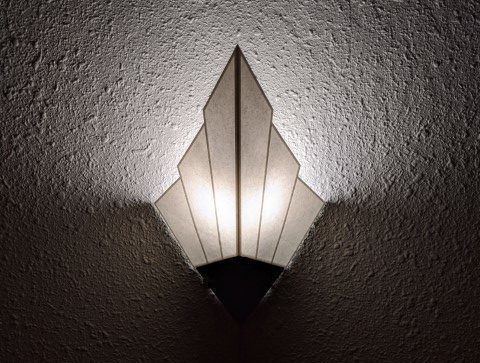
Searching around the web for existing designs that I could try to “3D printify,” I stumbled across an Art Deco style sconce that I liked and figured would be simple enough to make a quick re-imagined prototype of.
NOTE:The only source I have for this image is through a Pinterest link which points to an expired Australian eBay listing. So if anybody happens to know the origin of this particular wall sconce, I would love to learn more.
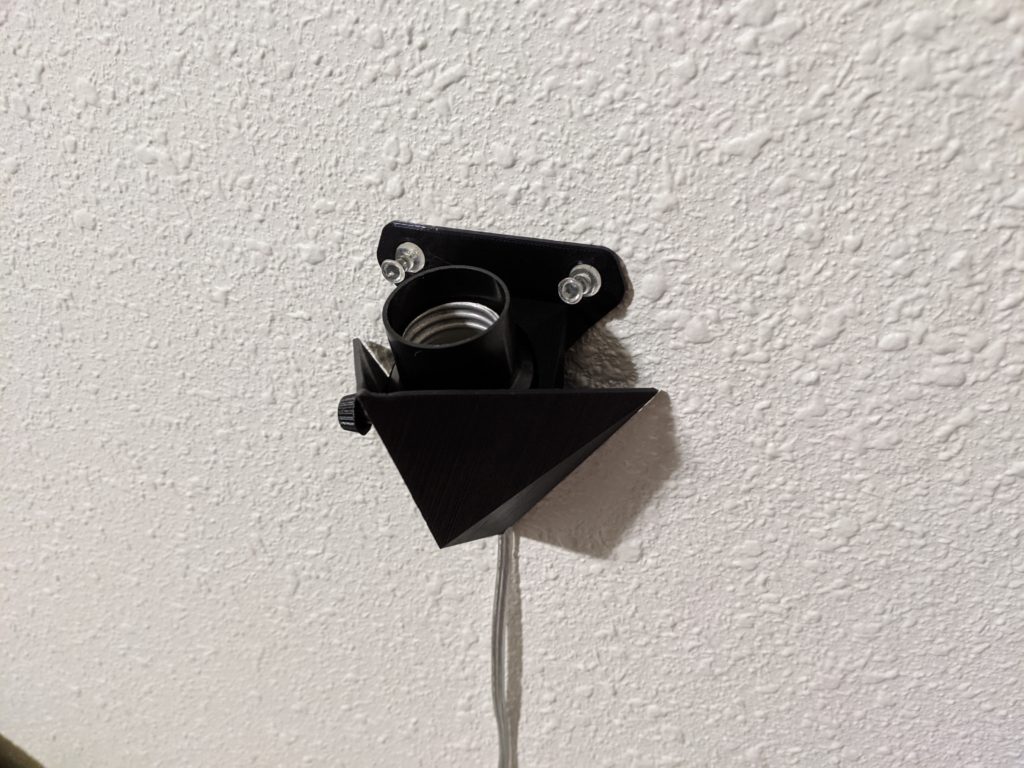
In addition to the challenge of taking the above design and using it as inspiration for a similar looking 3D printable lamp, I also wanted to make this lamp easy to put on the wall with minimal effort (or wall damage), and I wanted to fit a standard bulb and relatively large twist switch light bulb socket in the base. I figured I would just try to use a pair of standard push pins for fastening the fixture to the wall, and see if that works well enough. For the sake of making replacing the light bulb easy to access, I decided to design the sconce in two pieces (i.e. a base and a shade).
Thanks to my previous 3D Printable Lamp projects, I was able to utilize some of my previous socket mounting designs which I modified slightly for this project. So after doing some really quick and rough ideation sketches as a guide for how everything was going to fit into this design, I jumped right into Sketching with CAD (Rhino).
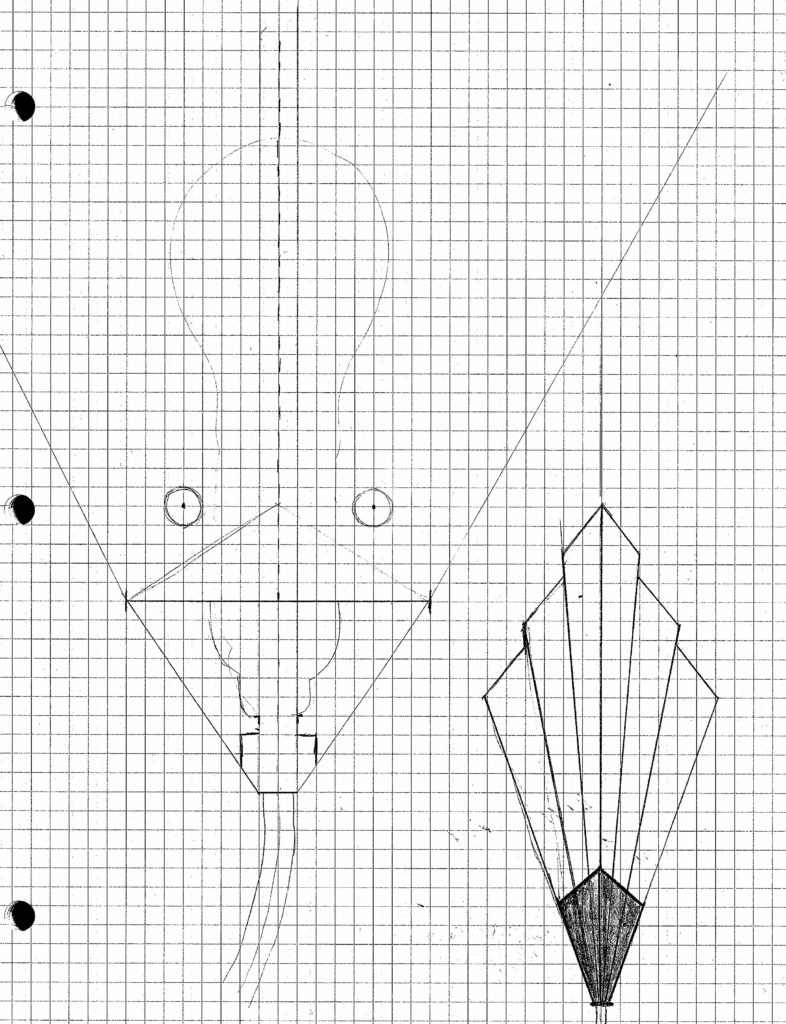
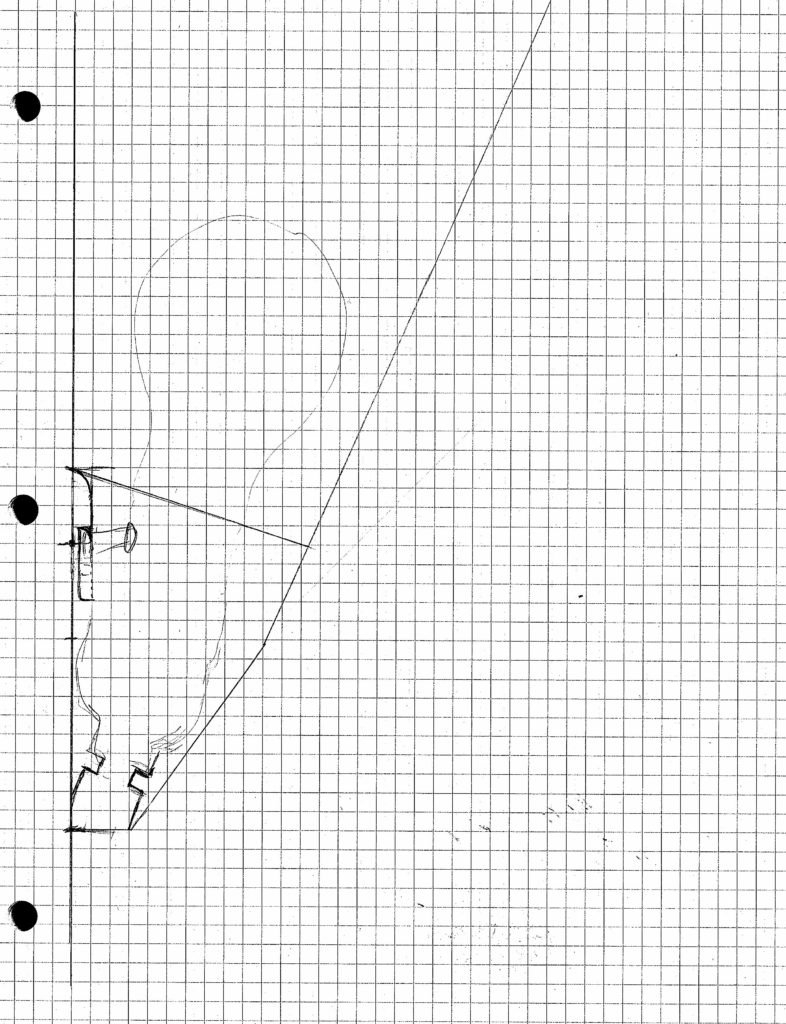
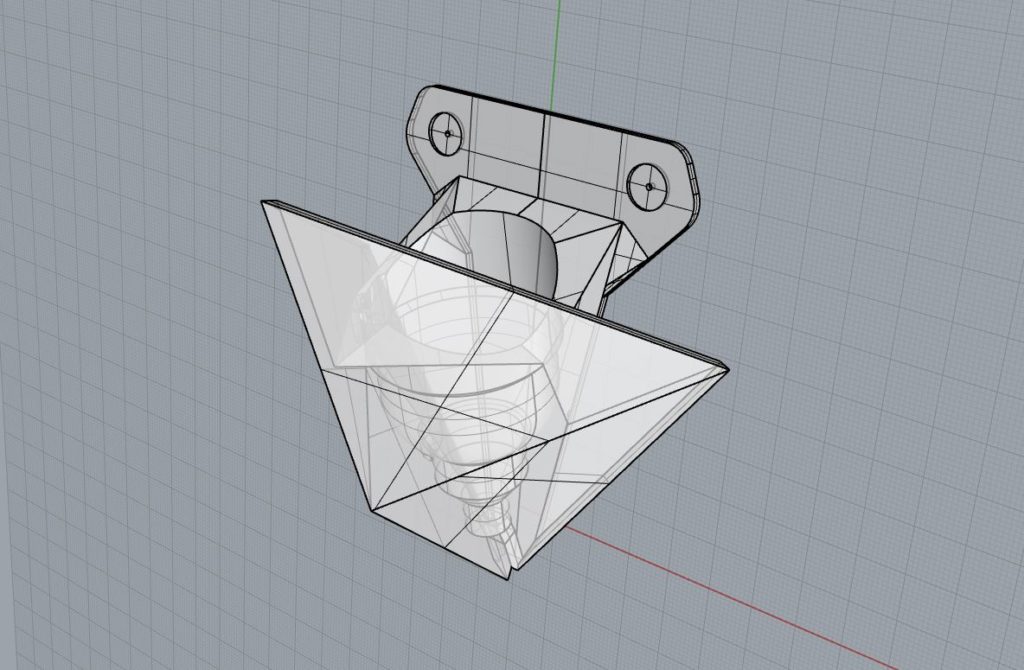
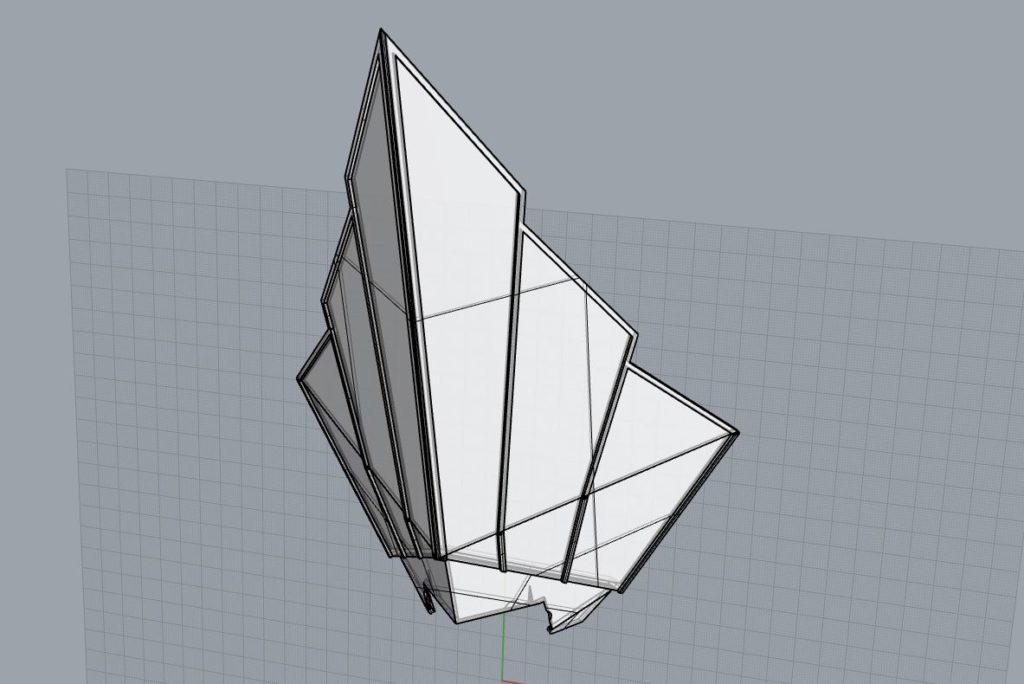
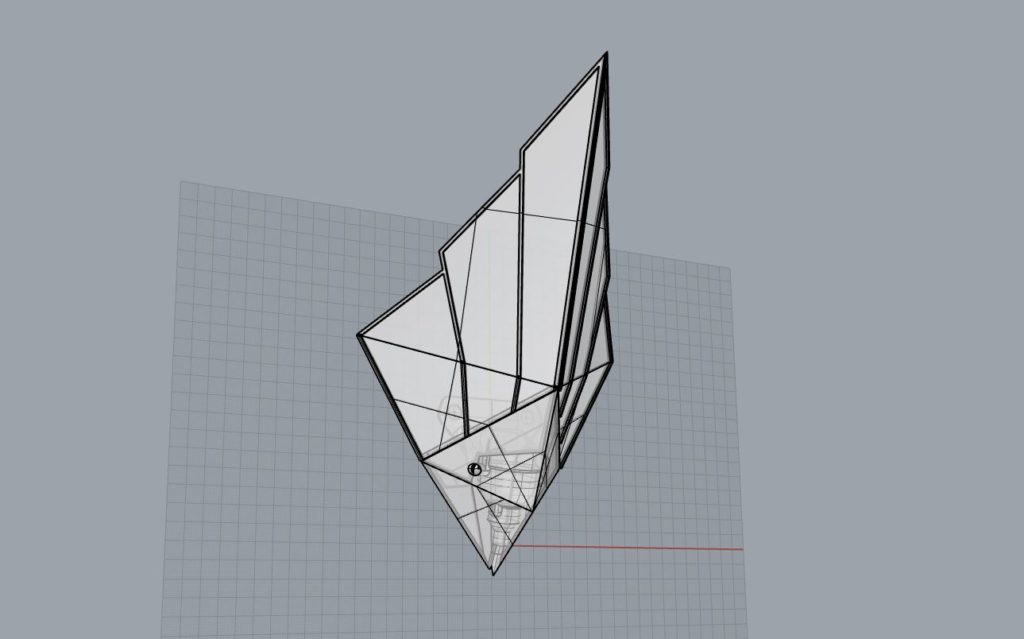
I started out with sketching out the lines I planned on using later to create the surfaces of half of the base, and also started playing with the primary lines of what would become half of the shade.
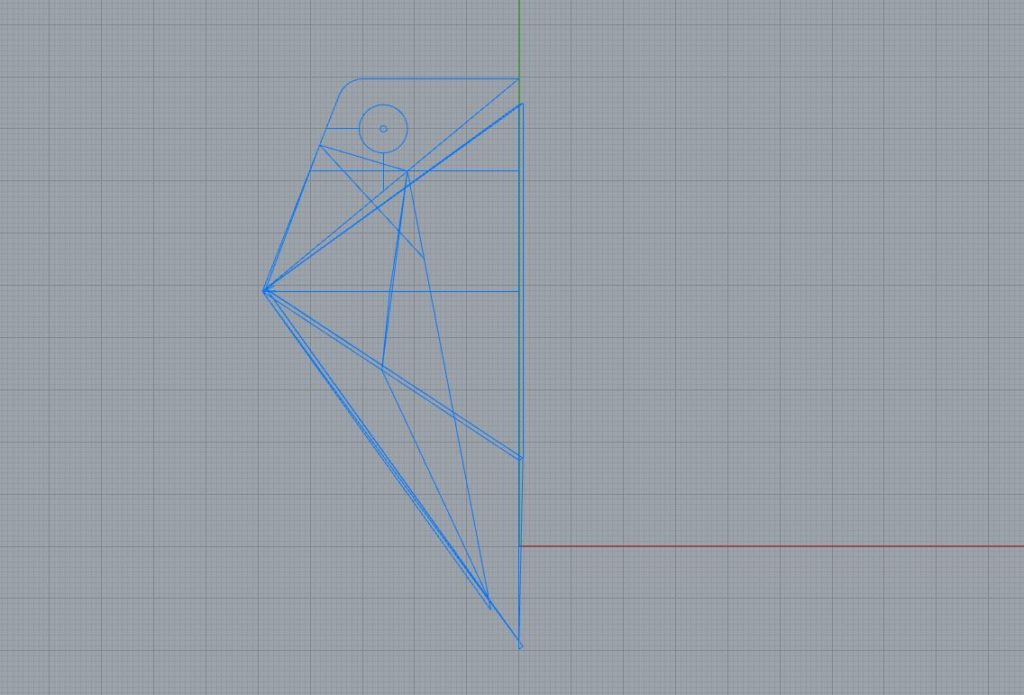
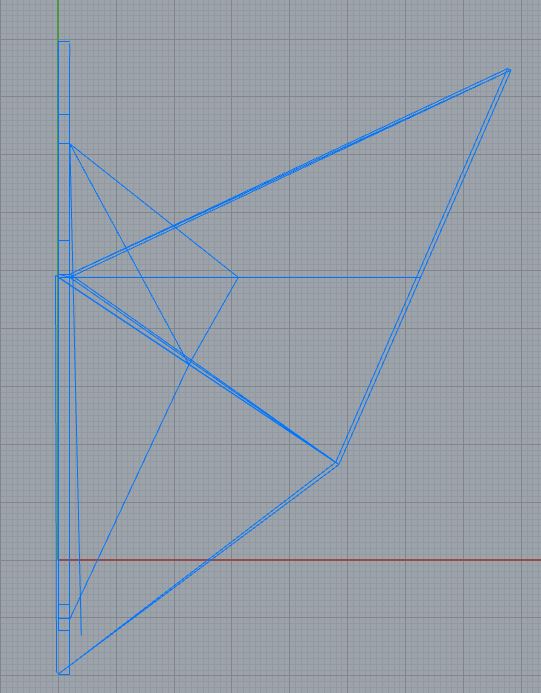
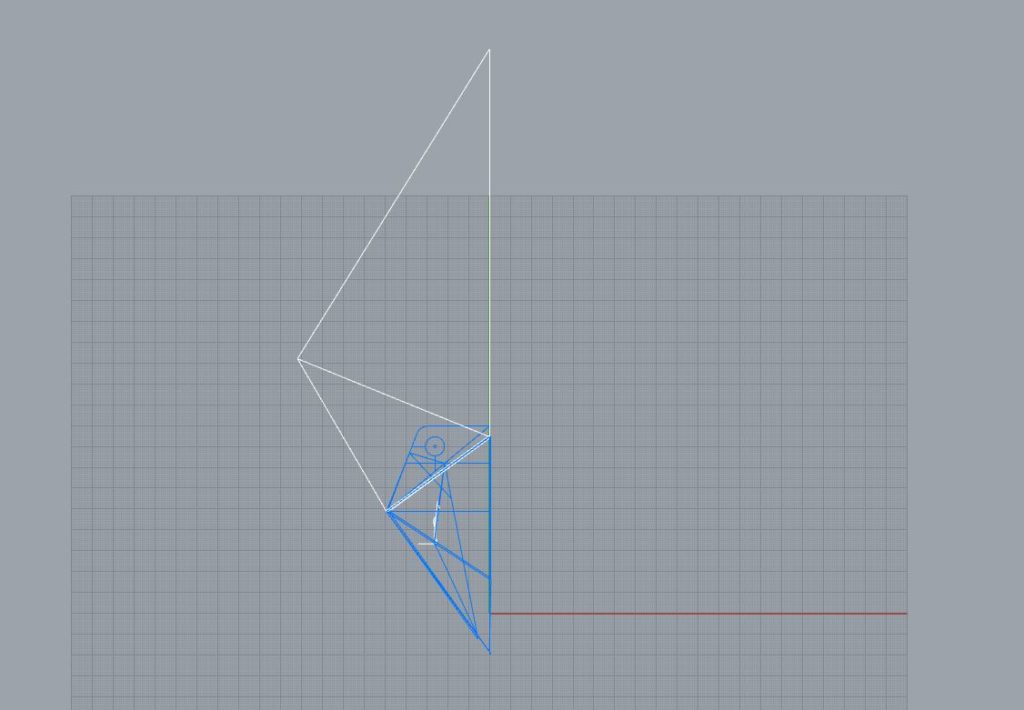
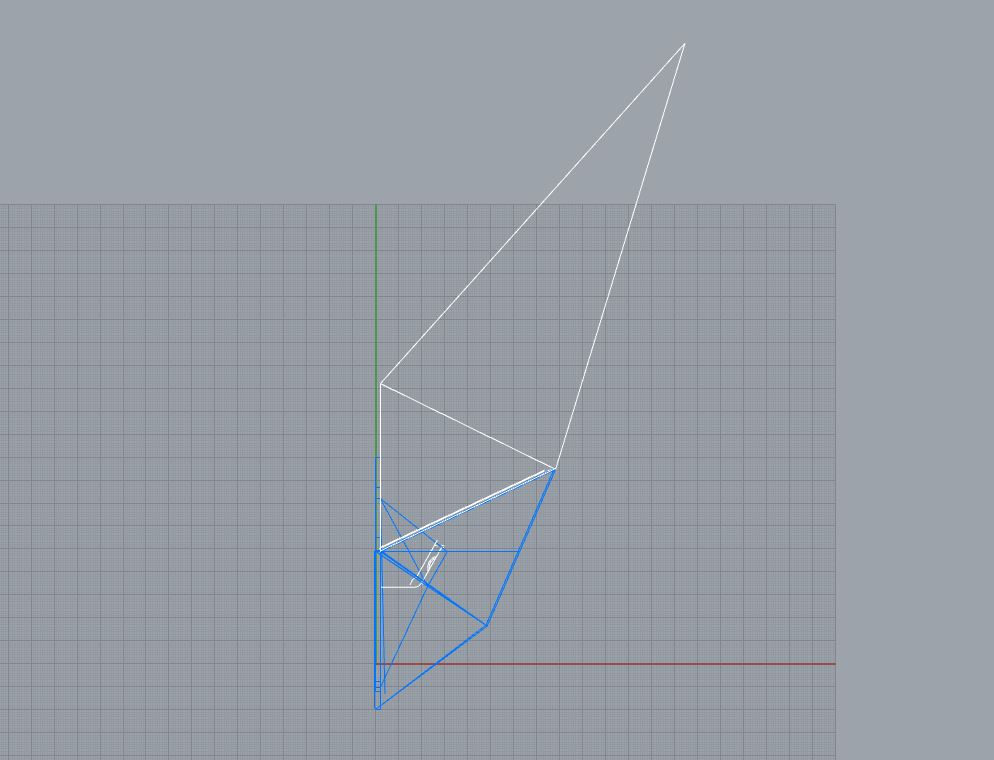
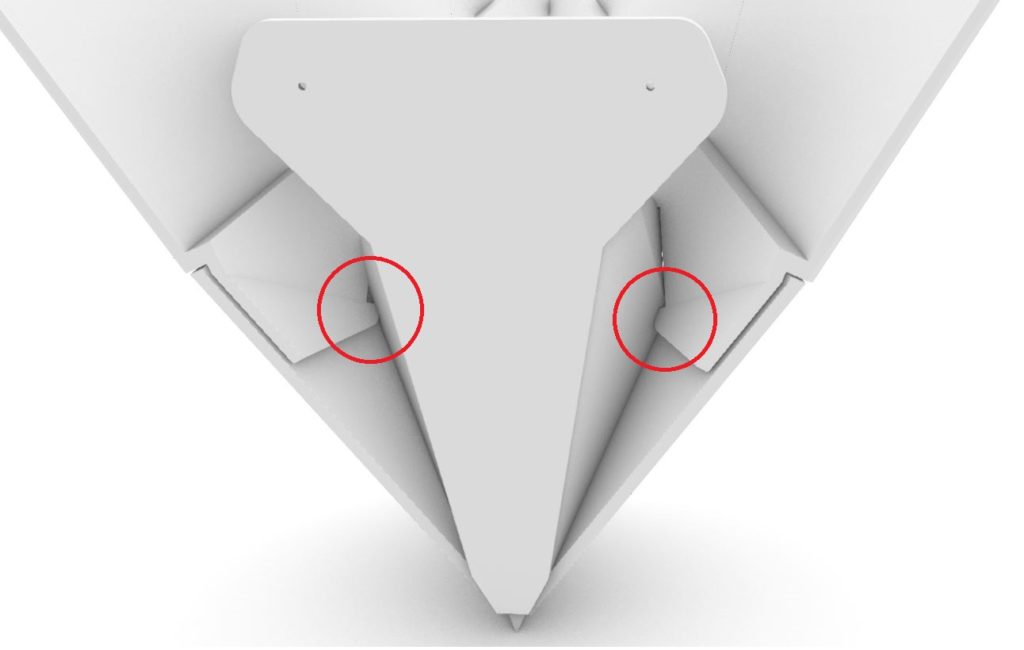
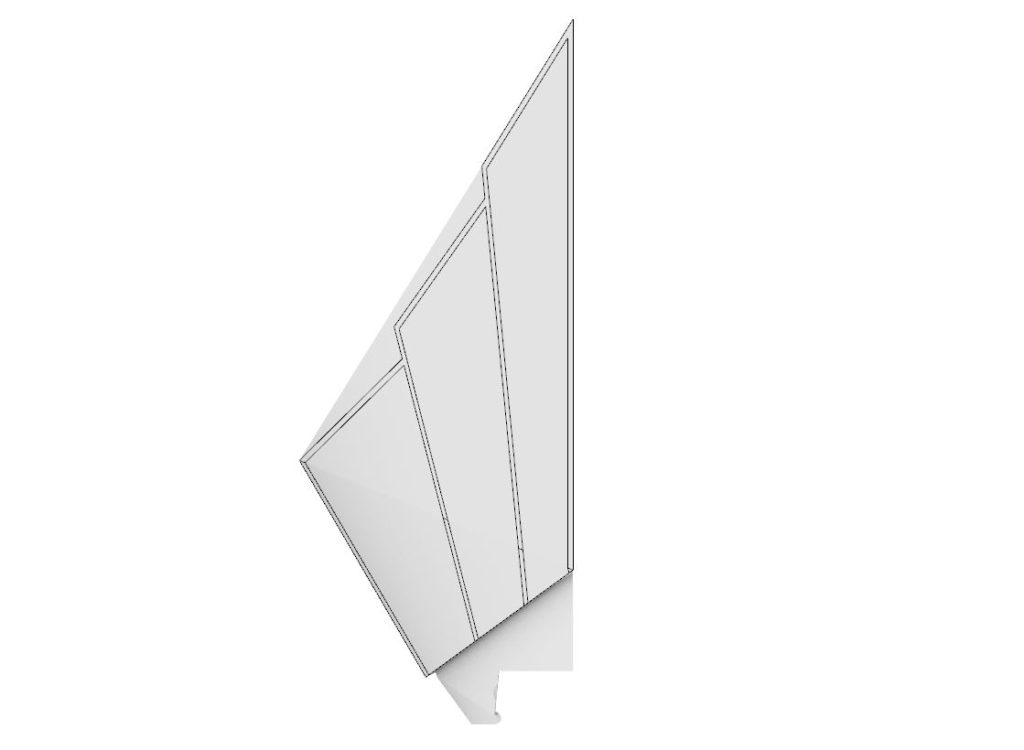
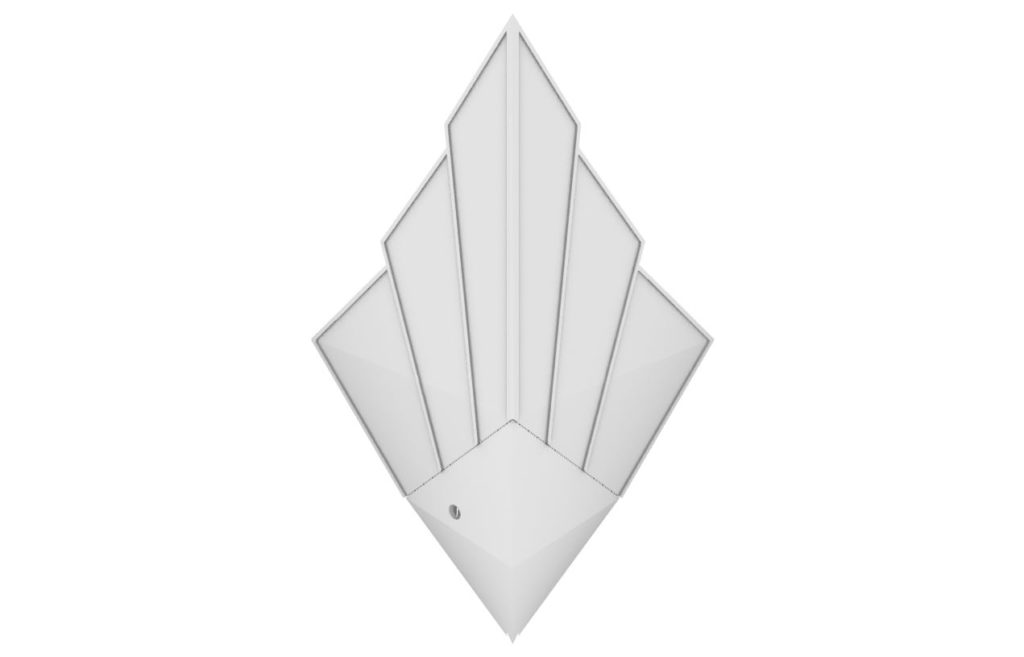
Once I was satisfied with the initial 3D line drawing, I started creating my surfaces for the base, mirrored them to create a nice symmetrical shape, and subtracted my light socket and wiring asset. Now that I had the base pretty much complete, I needed to work on the details of how the lid would sit in place. While using the base as a guide, I created a simple and small notch where the lid could be snapped into place. I also still needed to add some of the details I wanted on the shade, so I did some more 3D sketching before creating the extrusions that provide the outlining detail on the shade, and then also mirrored the half lid to create a complete lid.
Fabrication
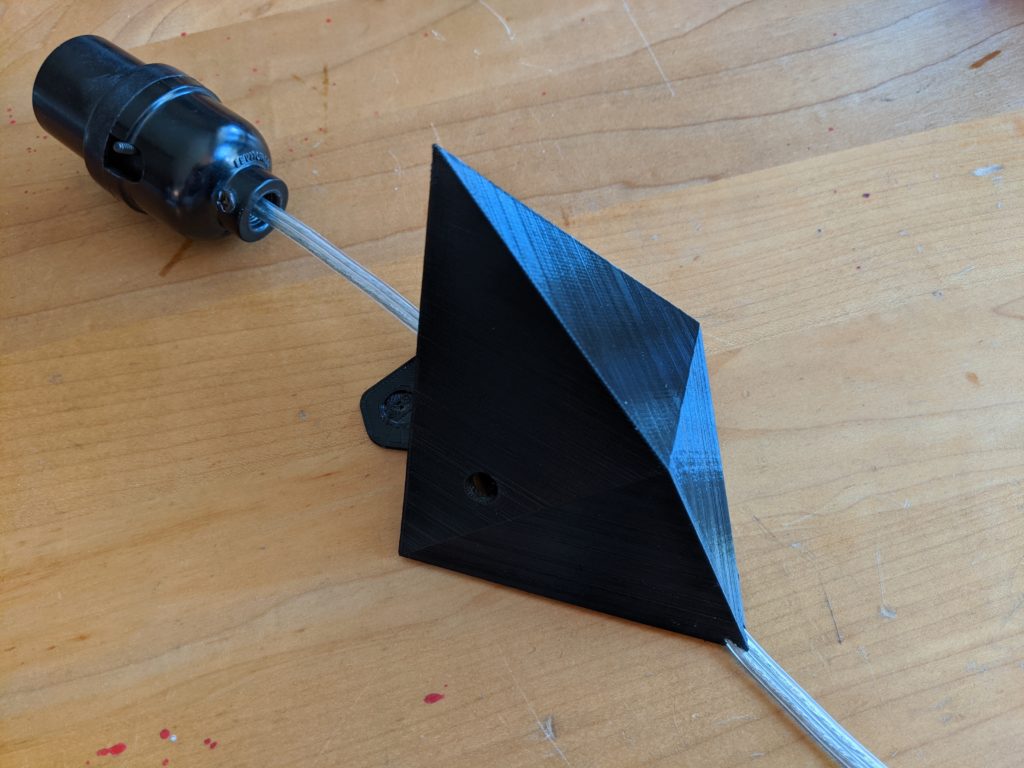
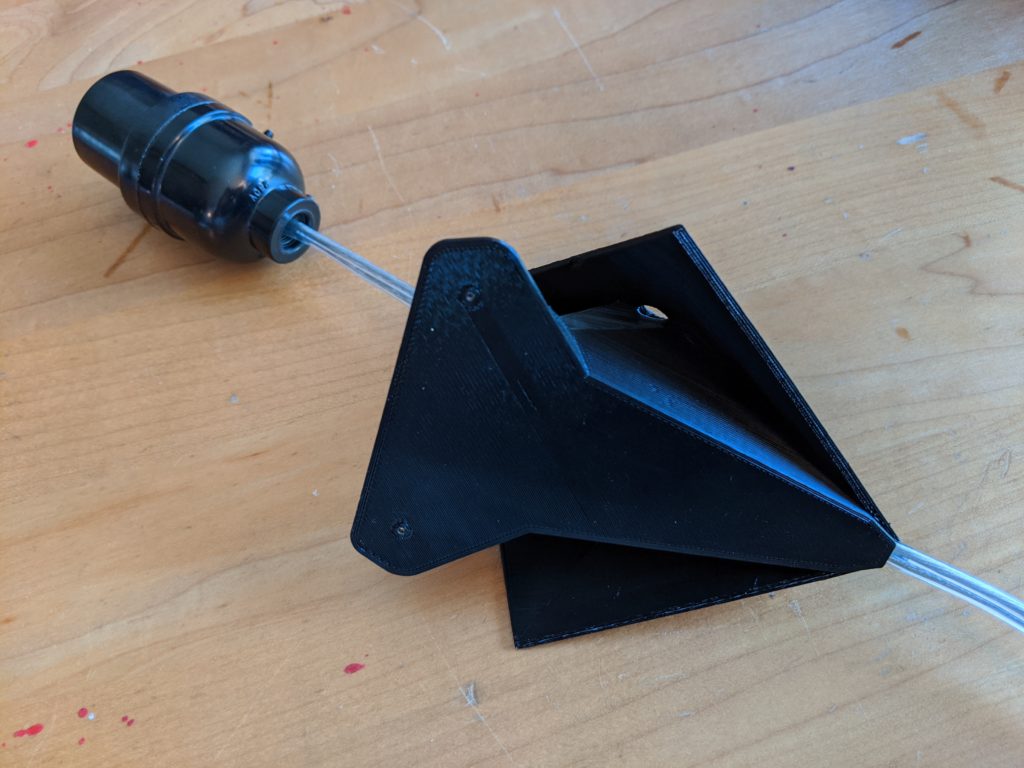
Once the 3D model came together, I could not wait to start printing! I fired up my printers and printed the base and the lid. After a few days of fine tuning the print settings for these more challenging to print designs, I settled on some settings that reliably yielded the results I wanted.
Time to wire it up. There is nothing too special about the wiring of this lamp, except I did intentionally make the exit point for the wire relatively snug so pushing the wire through required a little extra effort. I originally planned on allowing the socket to bolt into place, but soon realized that once the socket is pushed into place and the twist switch is re-installed into the socket, the socket becomes locked into place!
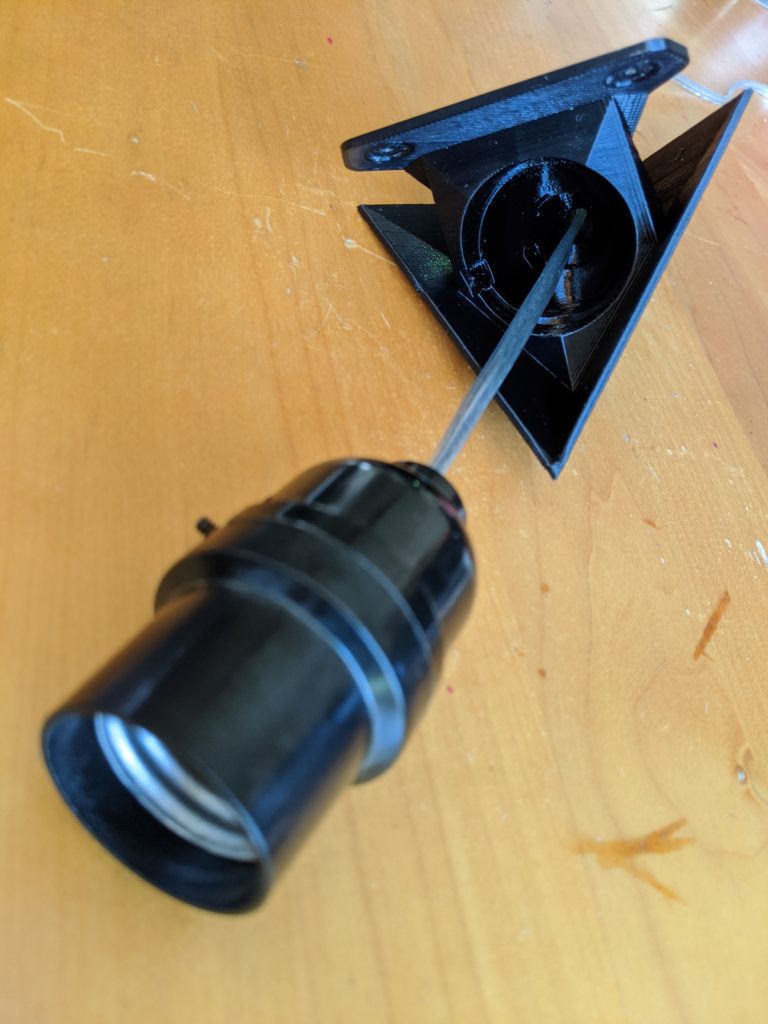
All that was left to do was to pin it to the wall, add a bulb, plug it in, and turn it on…

I originally printed the lid in a basic white colored plastic, but then I remembered that I had seen some nice looking simulated marble 3D printing filament, so I ordered some to try with this design.
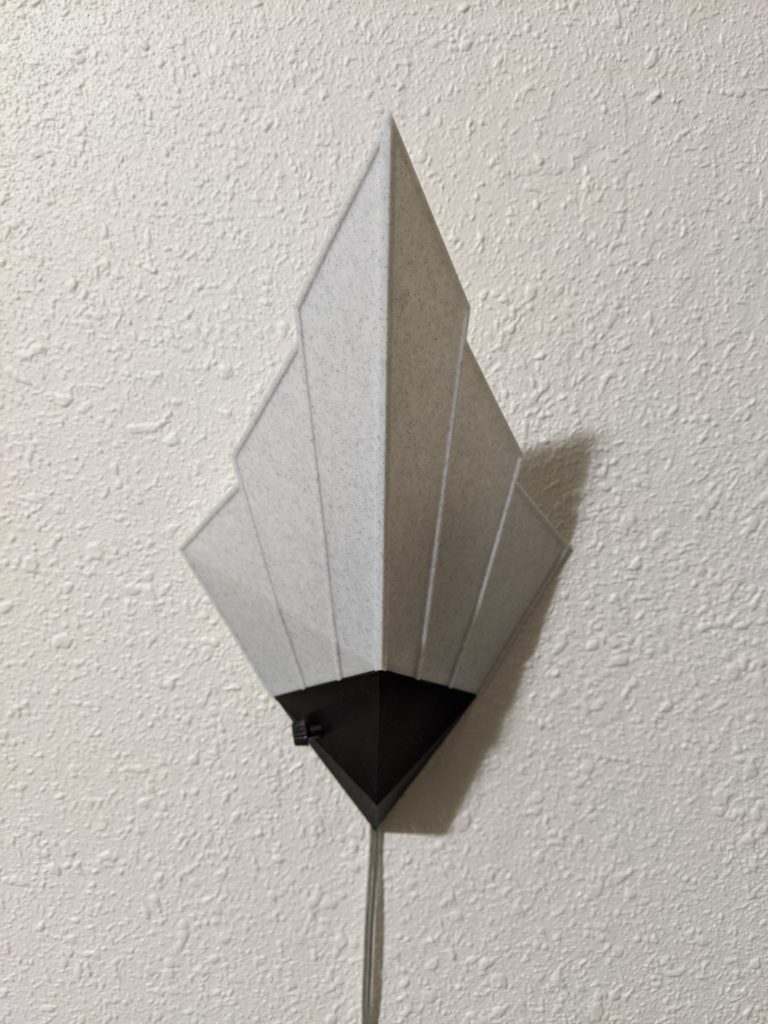
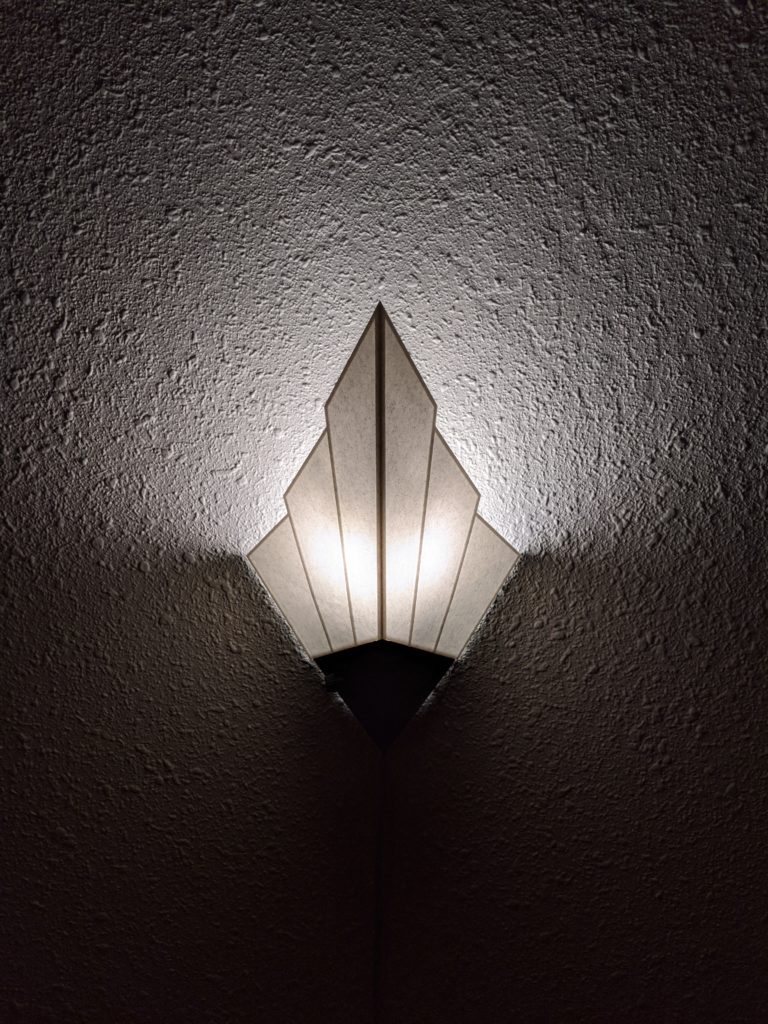
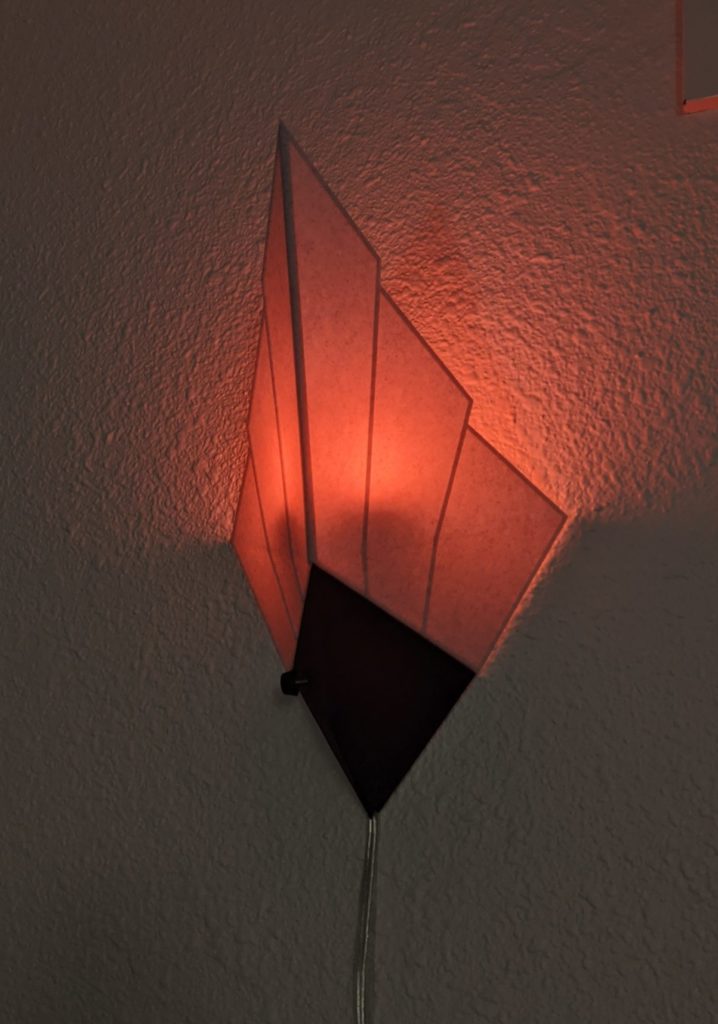
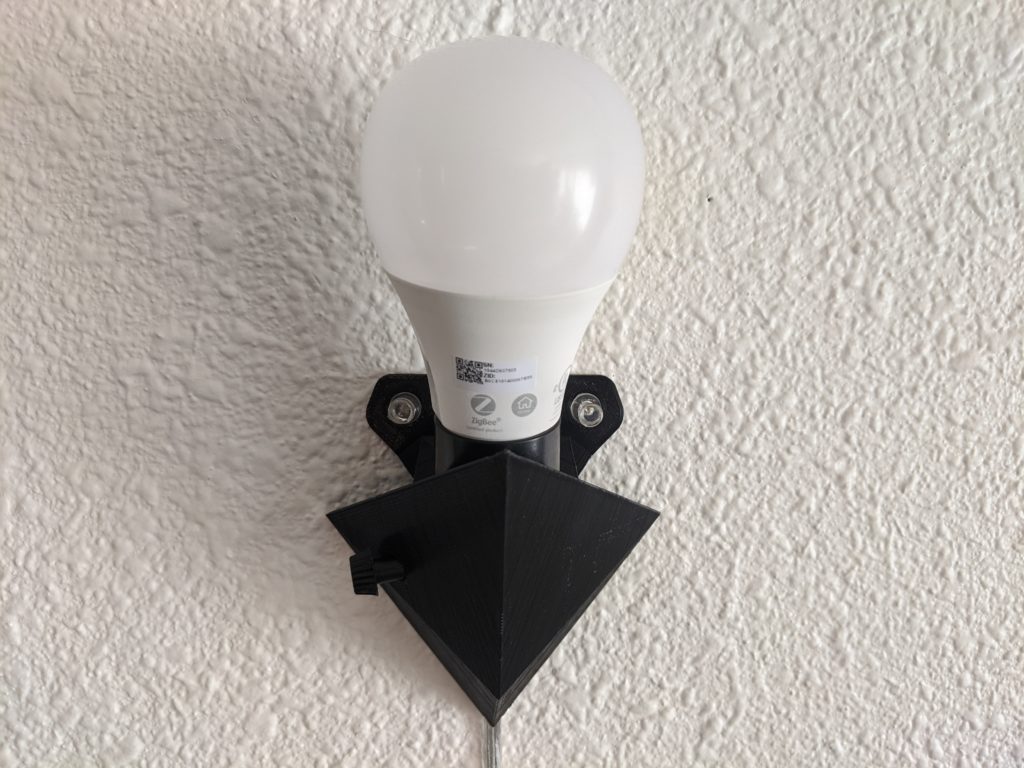
The finished piece came out looking great! I am quite pleased with this design especially because of the much more artistic aesthetic (compared to my 3D Printed Table Lamp) as well as the high functionality of being able to easily hang it on the wall and remove it at will. Even the lid snaps into place with a satisfying “CLICK!” I was so pleased with this design that I ended up making two sets, one for the living room and one for our bedroom. I even ended up throwing some Zigbee controllable RGB LED bulbs to the living room sconces to add some variety to the living room lighting.
I already have plenty of ideas of how I would change and improve this design, but we’ll see when I make time for Round 2 of the 3D printed wall sconce.