After many years of use, abuse, repairs, upgrades, and the unfortunate closure of Type A Machines in 2018, it was finally time to ditch the old proprietary (and somewhat problematic) G2 extruder with a more modern and open-source tool.
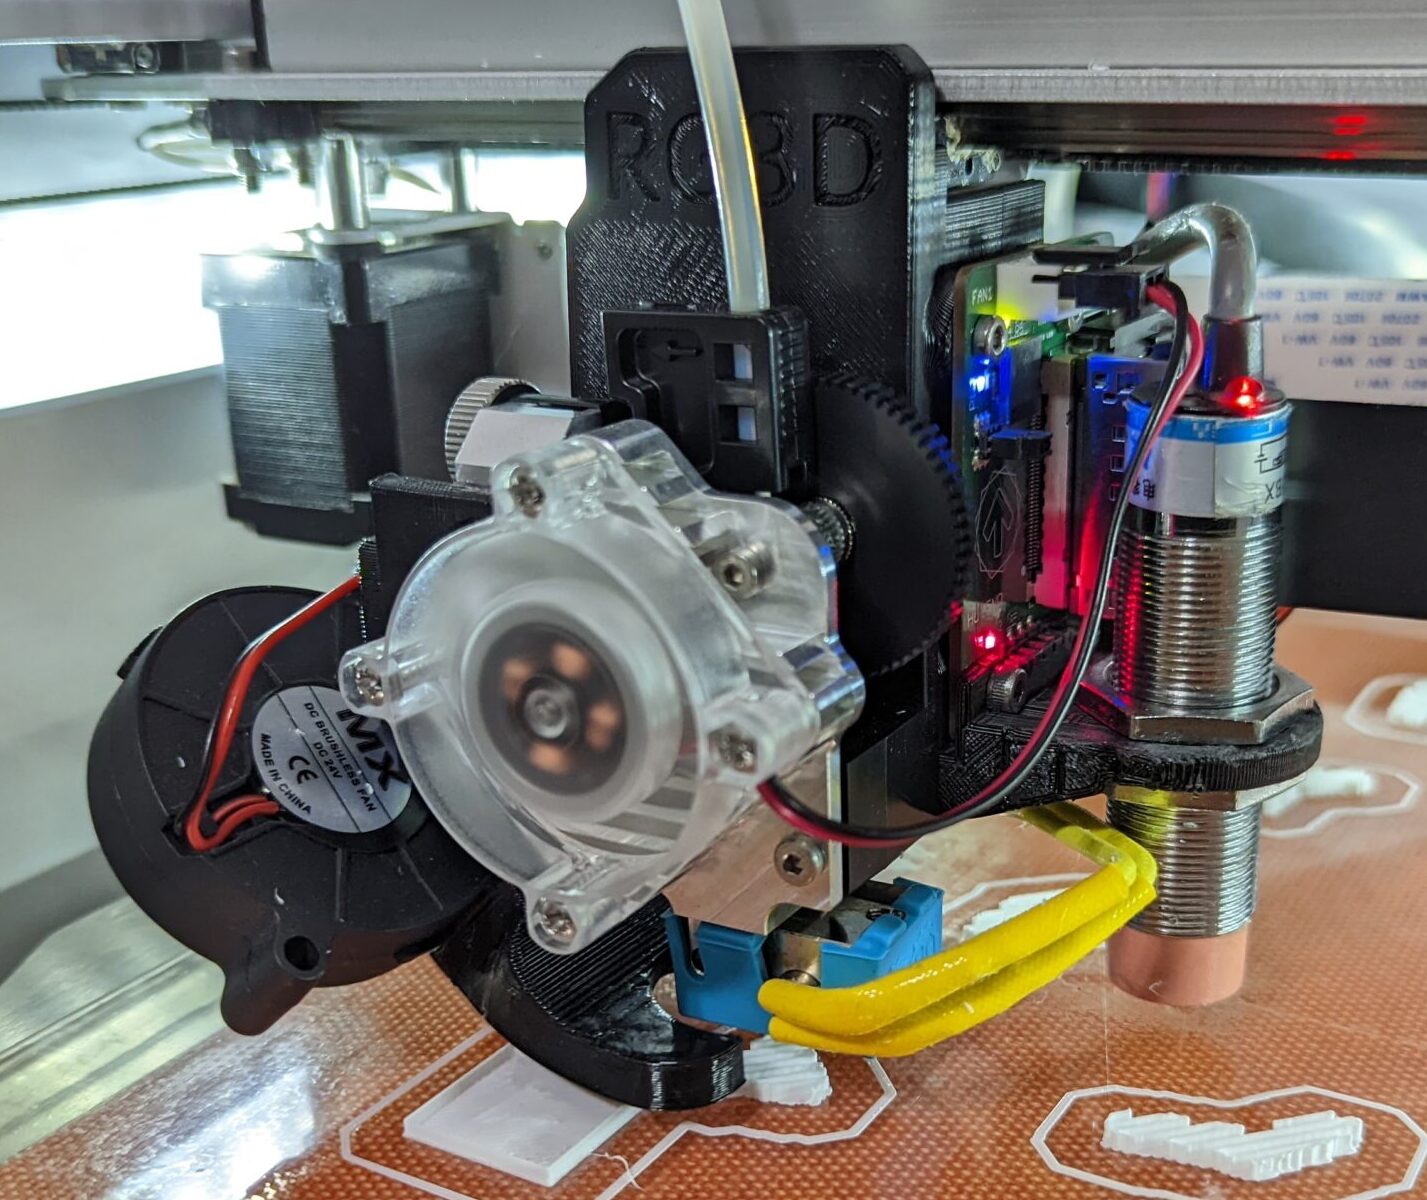
I ended up settling on an E3D Titan Aero as my replacement due to it’s relatively reasonable cost, flexibility, and known reliability.
A big part of making this new extruder work with the my Series 1 (which I have already modified with a Duet 2 Maestro controller – some details on that here: Quadfusion Print Head Mount for Type A Machines Series 1), I had to design a new carriage.
The original carriage from TAM was made from somewhat thick sheet metal and has a decent belt tensioner built into it. Instead of completely throwing this part out, I decided to modify it and incorporate it into my design by cutting off the two sides of the bracket.
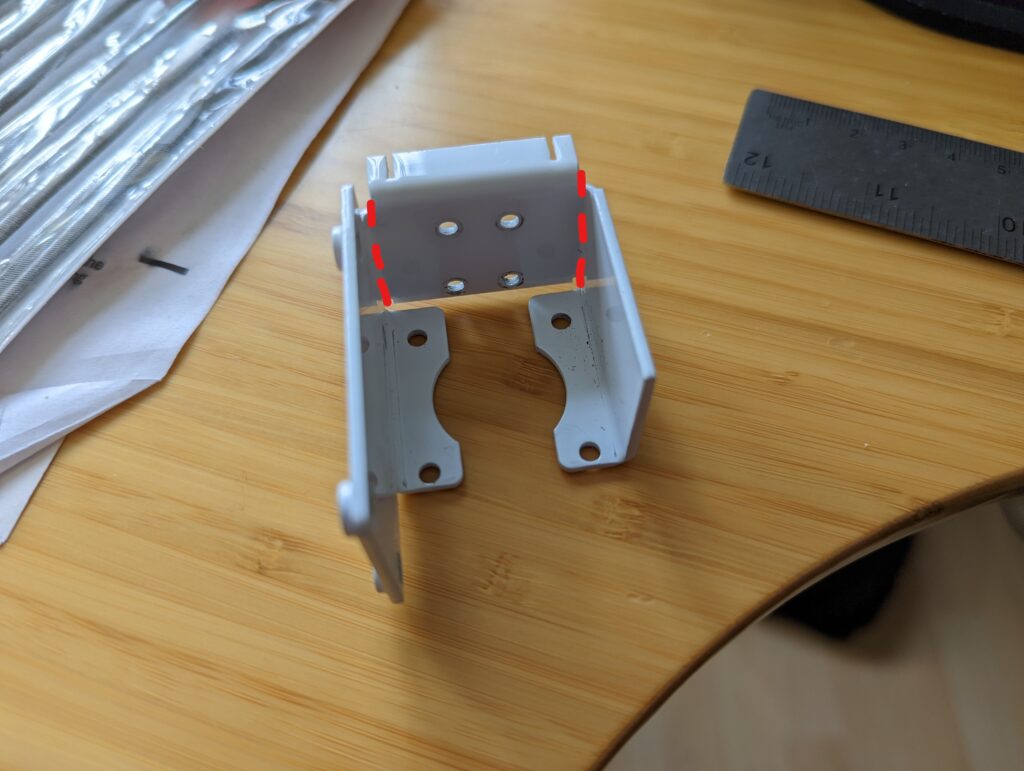
This left me with just the middle section shown above with the 4 screw holes and belt tensioning fold/cutouts. By keeping this original section of the carriage, I mainly decided to do this to avoid any issues with, or changes to, belt tension.
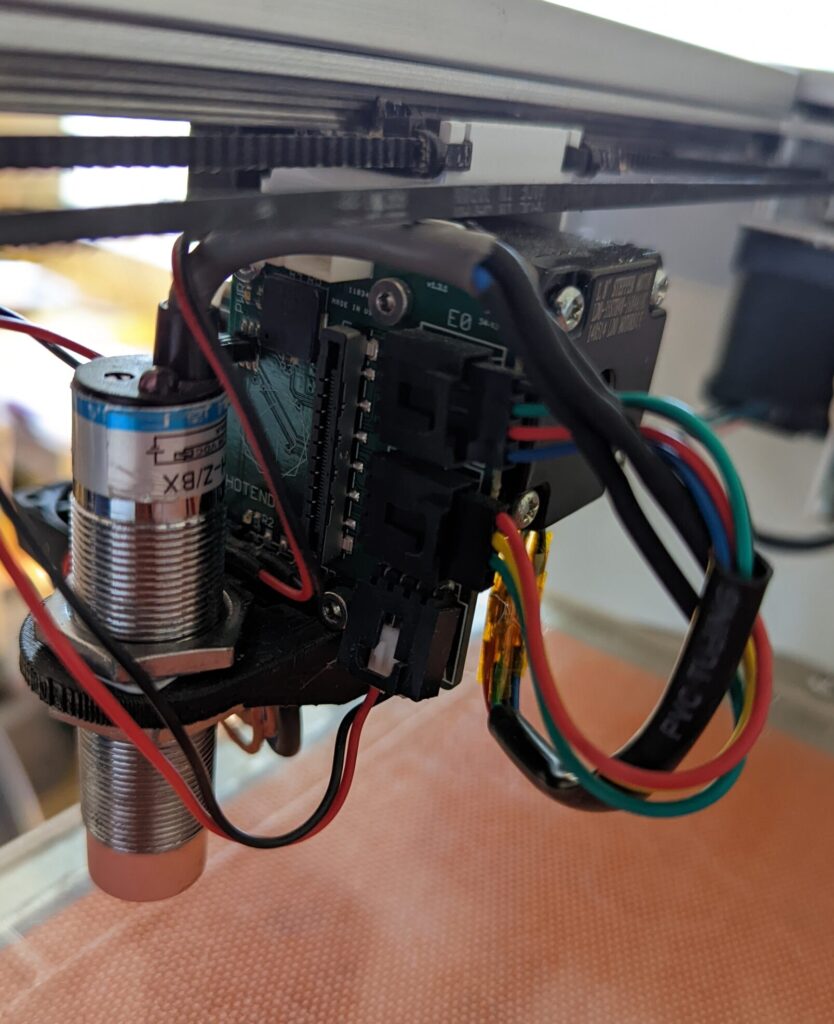
Utilizing an existing generic Titan Aero mounting bracket design from bfesser on Tinkercad (as well as some of TAMs original filament guide design, and my previous bed level sensor bracket design), I remixed the design using Rhino into something that fits almost perfect on the Series 1. I’ll admit that the Titan Aero is a little bit bulkier than is ideal, but I squeezed everything into as tight a space as I could in order to minimize build volume loss. Additionally, I found a really nice fan duct design that compliments this upgrade perfectly on Thingiverse (Titan Aero fan duct by ProcyonLotor).
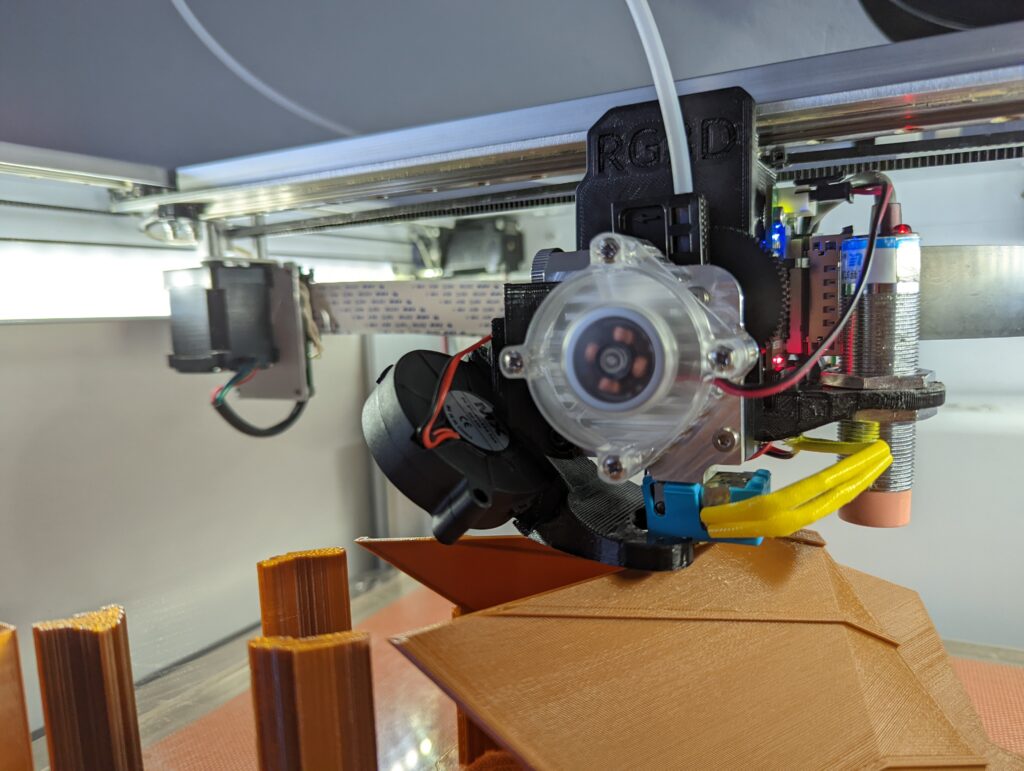
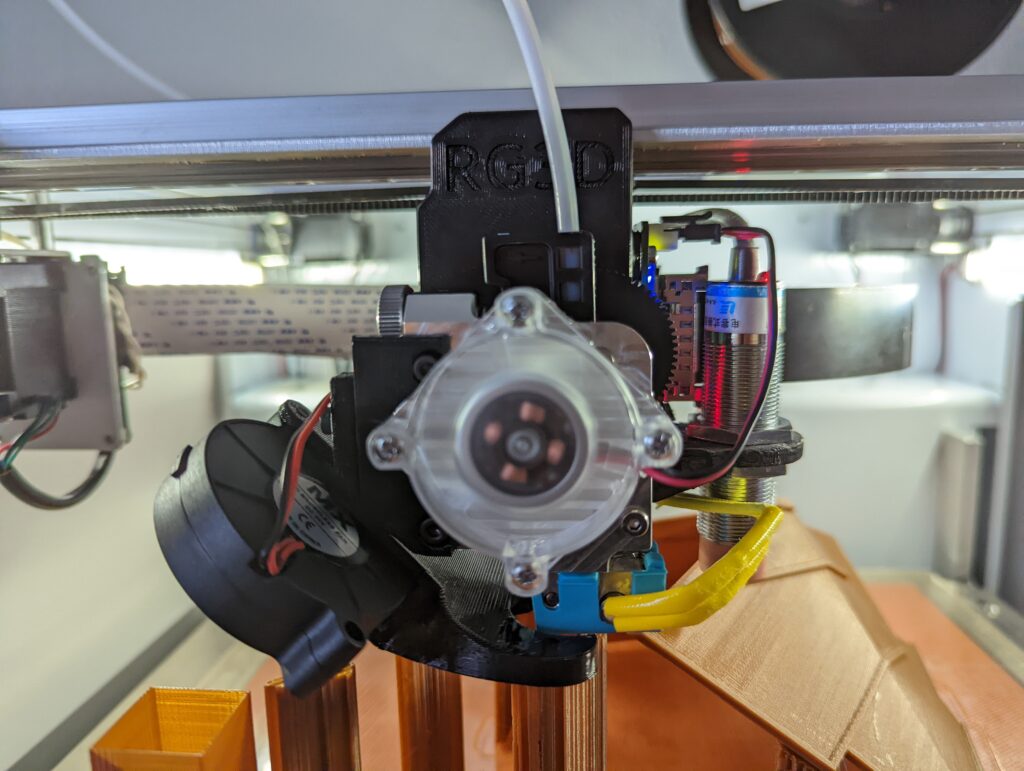
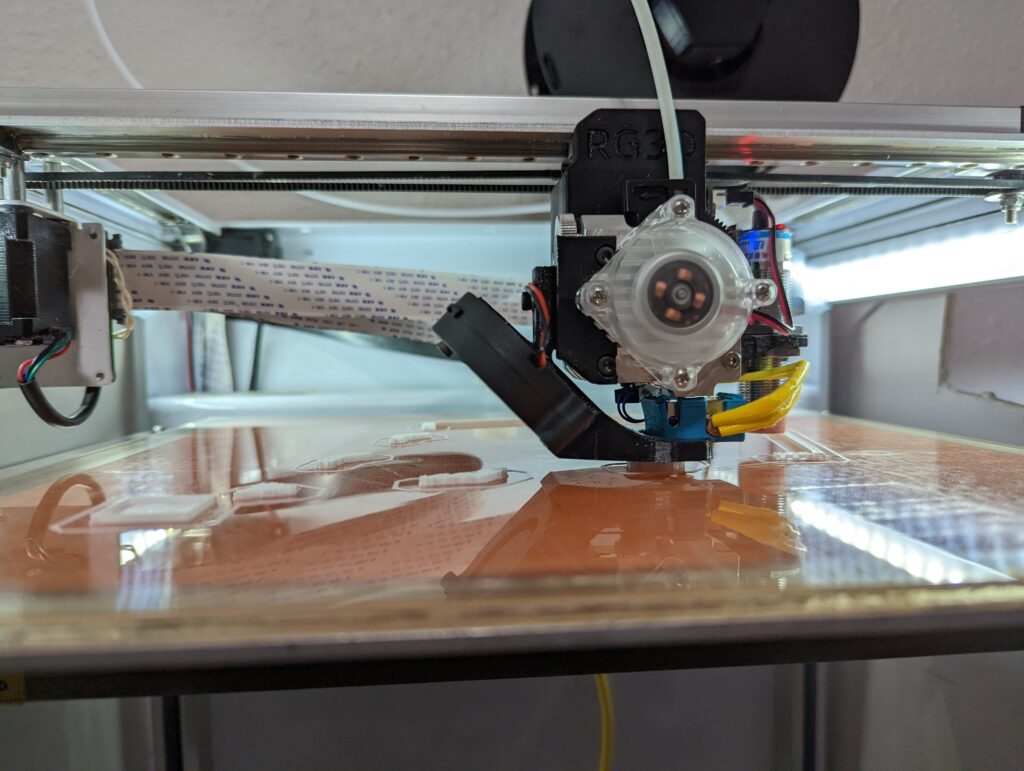
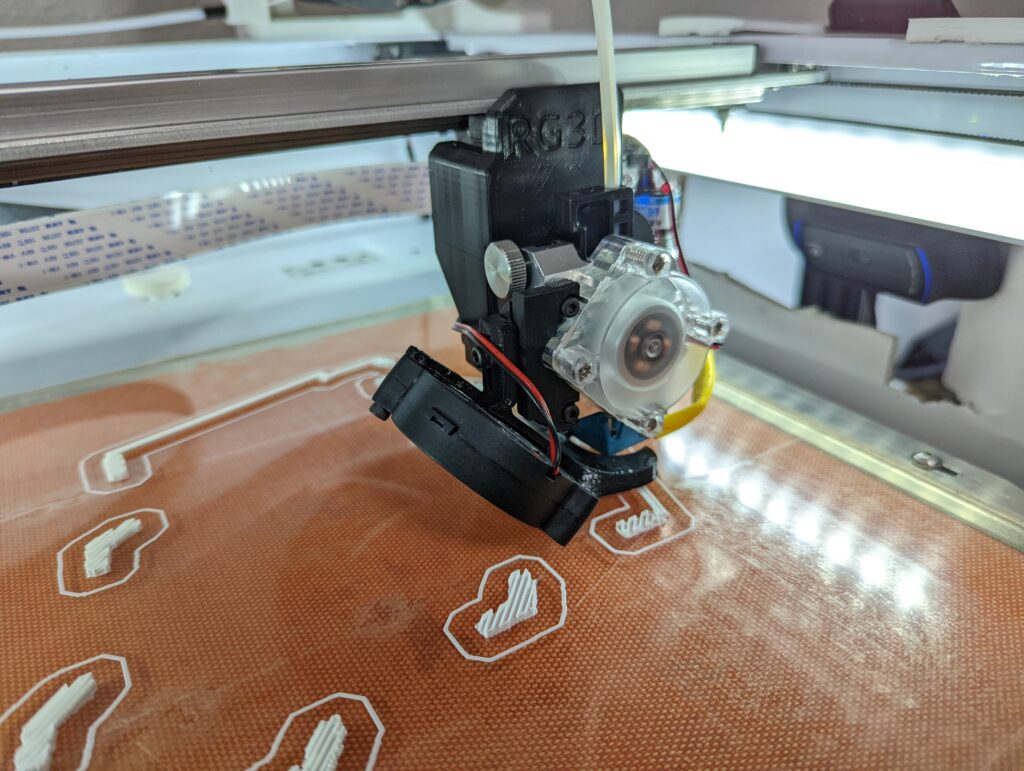
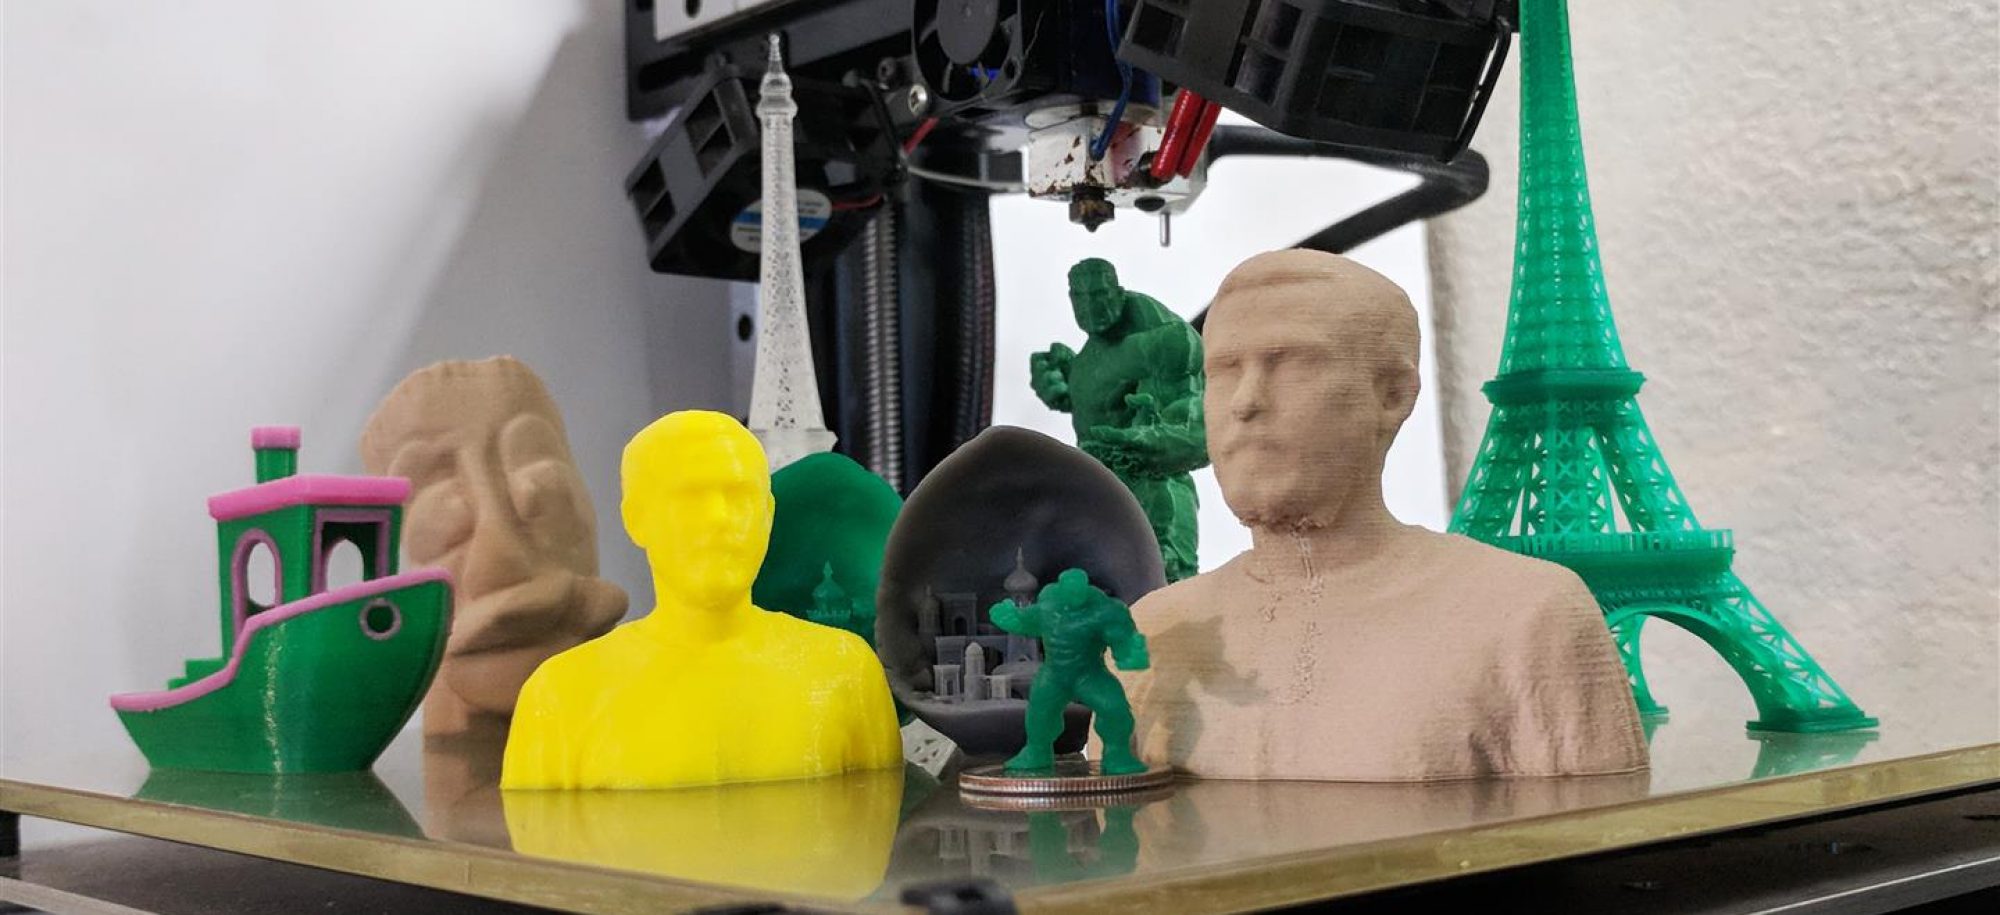
The final design in action in a few photos below: