Thingiverse thing #2118524
Design
Some time back in 2017, I challenged myself to design a table lamp that could be 3D printed in such a way that no material would be wasted, and the lamp socket and wiring could just drop into place. It was definitely a challenge, but I was pleased to be able to come up with the design I have posted here (My Original 3D Printable Table Lamp). While I was totally successful, I felt that there were still a lot of opportunities to make this thing far better. I let the ideas simmer for a few years, and last week (January 2020) I dove back in.
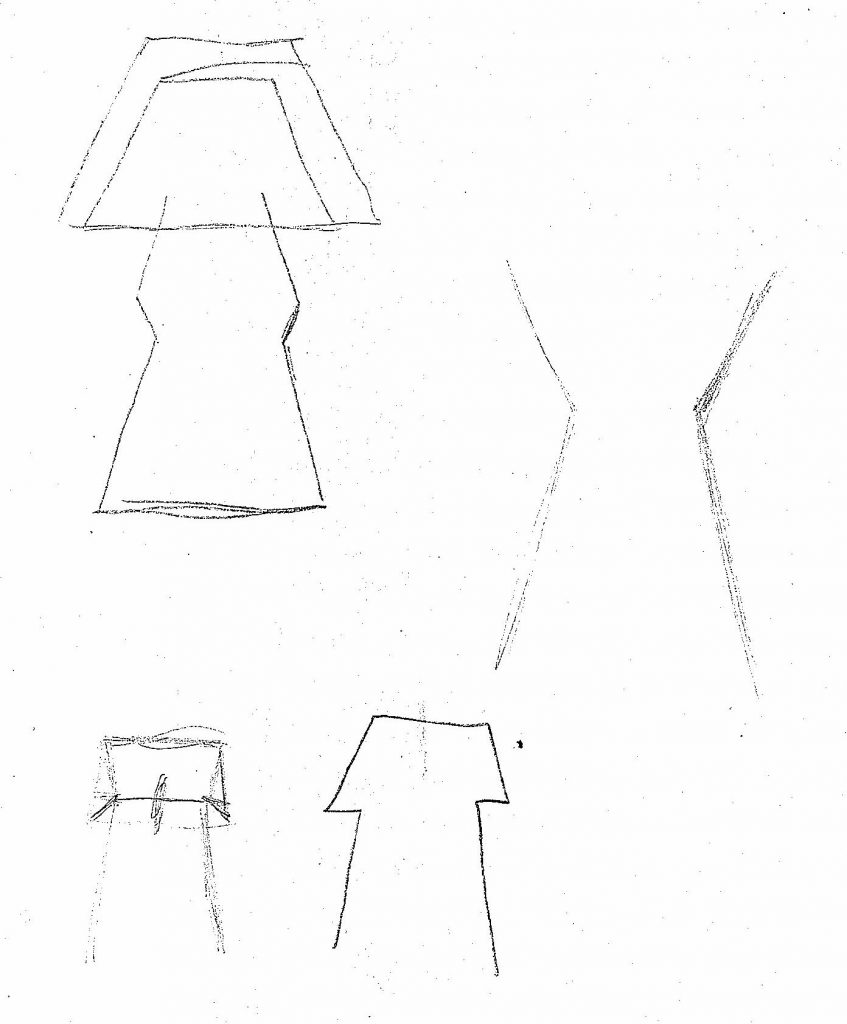
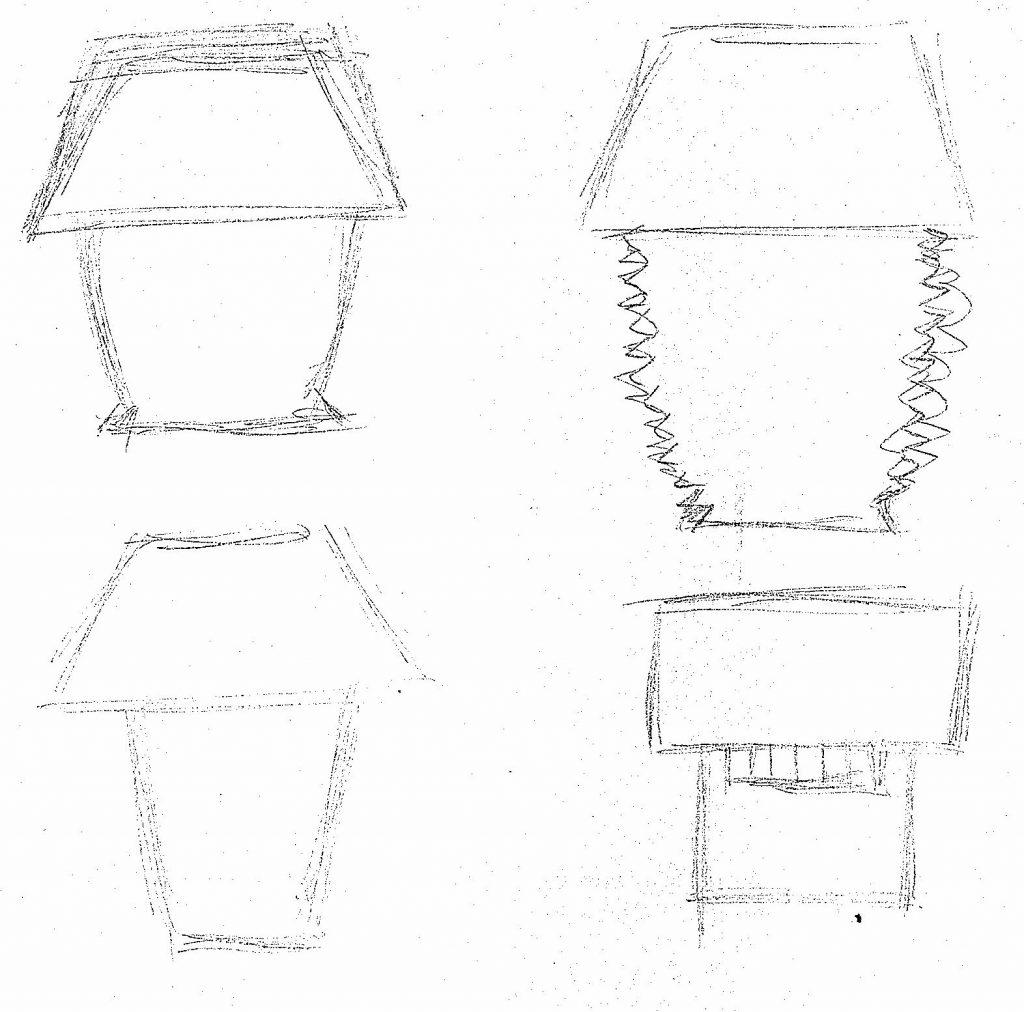
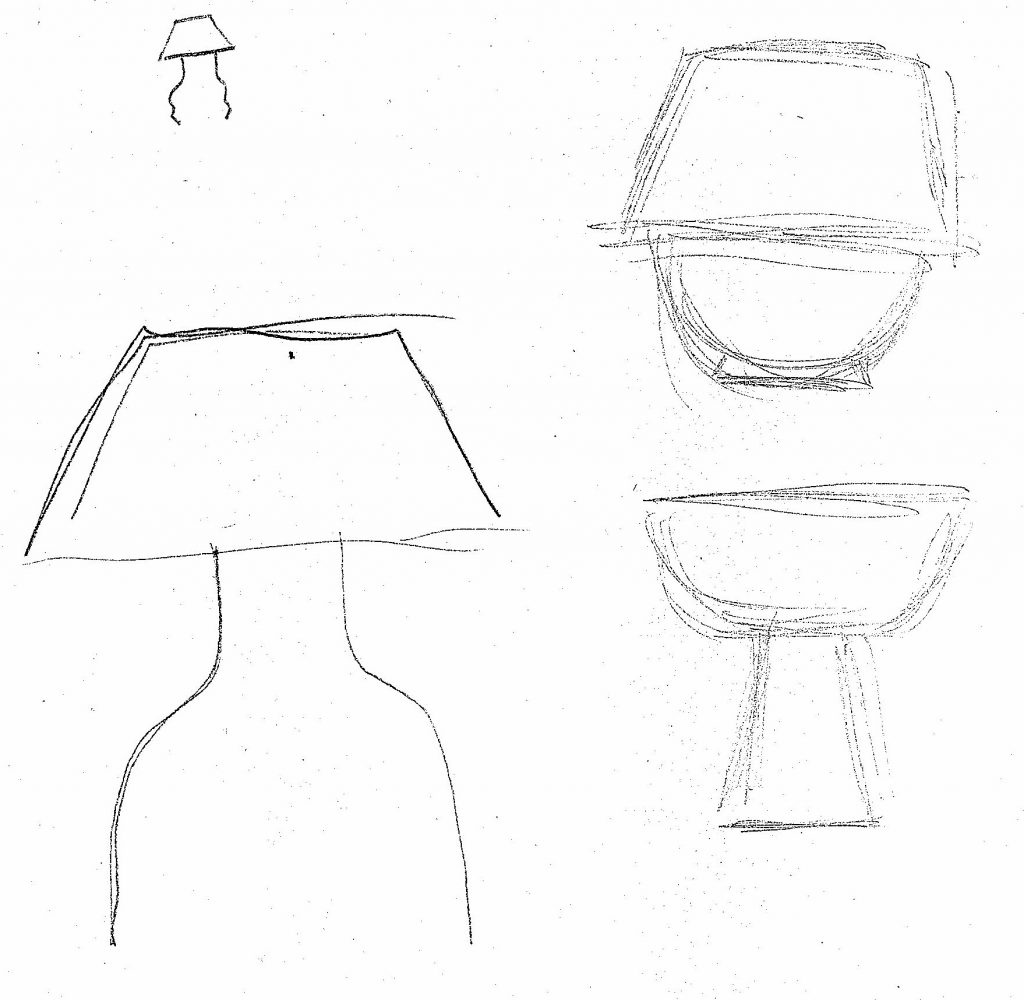
For the original design, I did some quick napkin sketches in order to try to ideate on 3D printable lamp shapes. Below are some of those sketches.
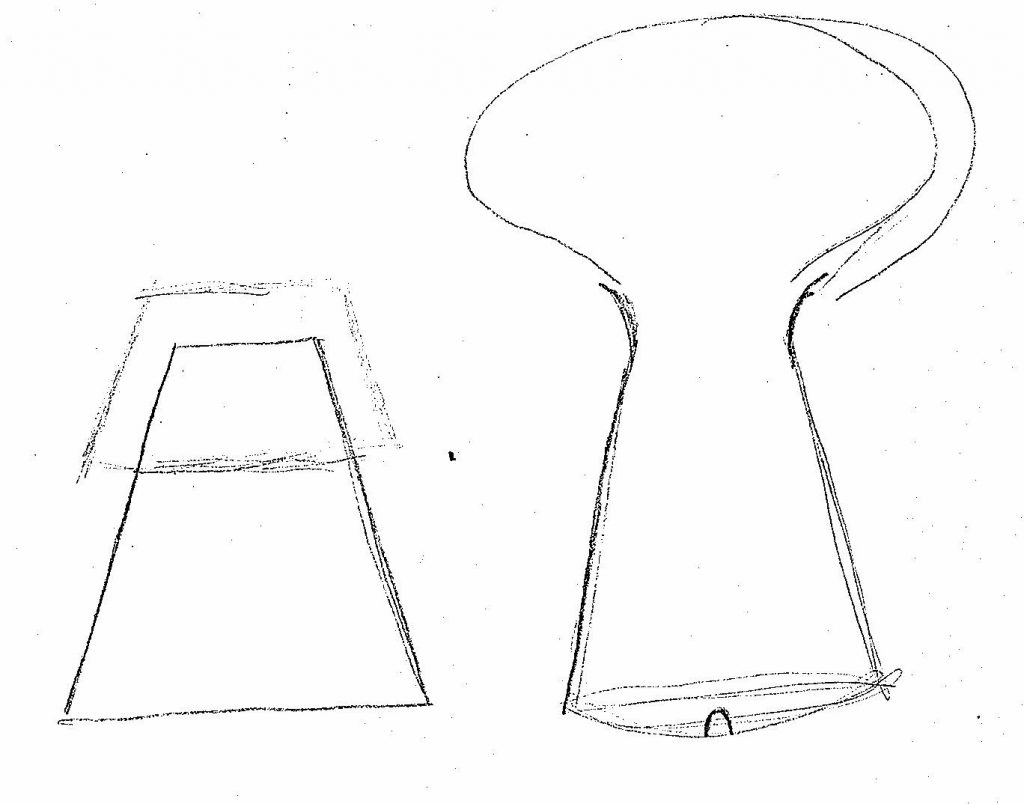
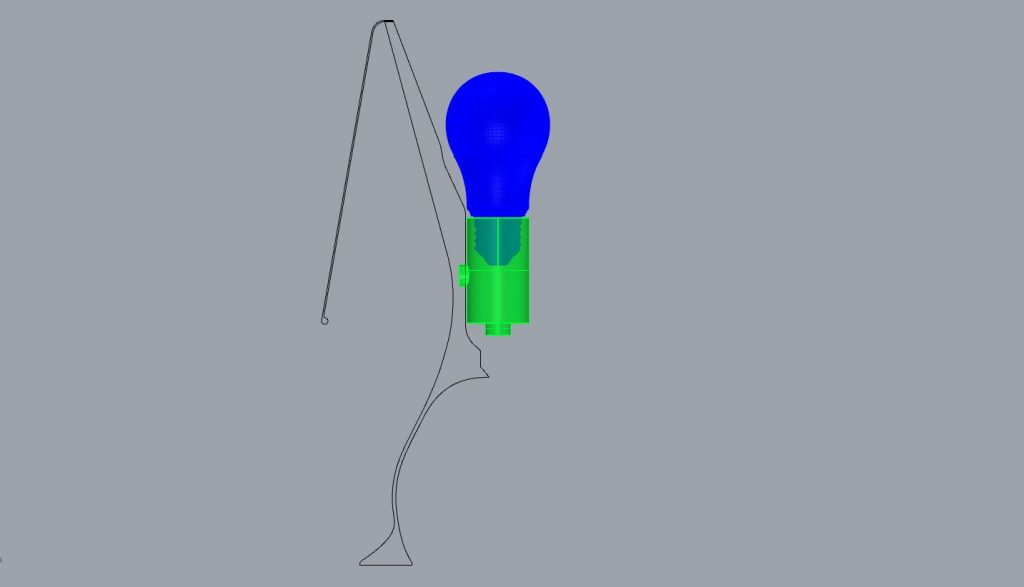
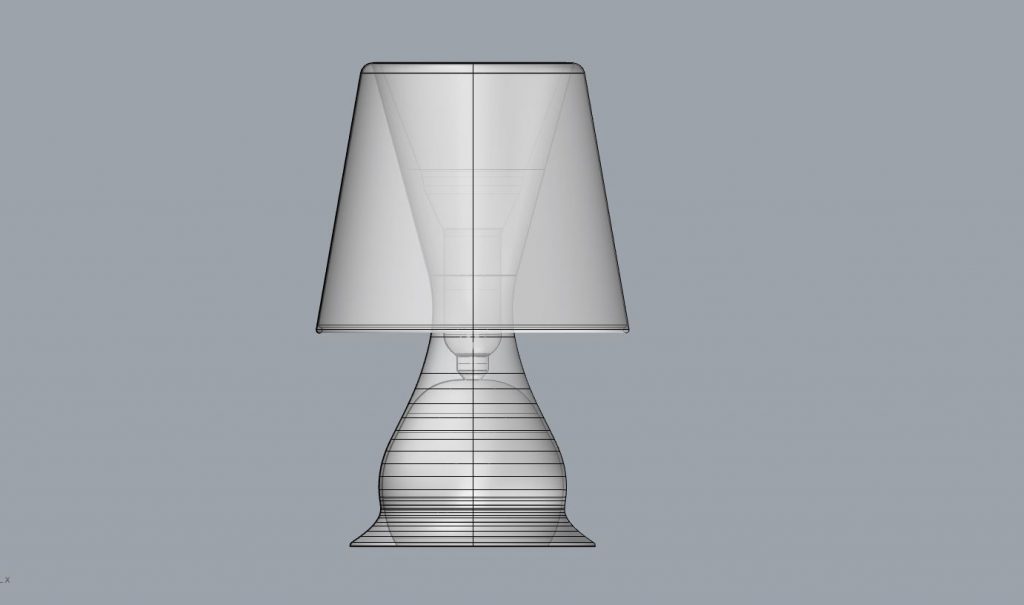
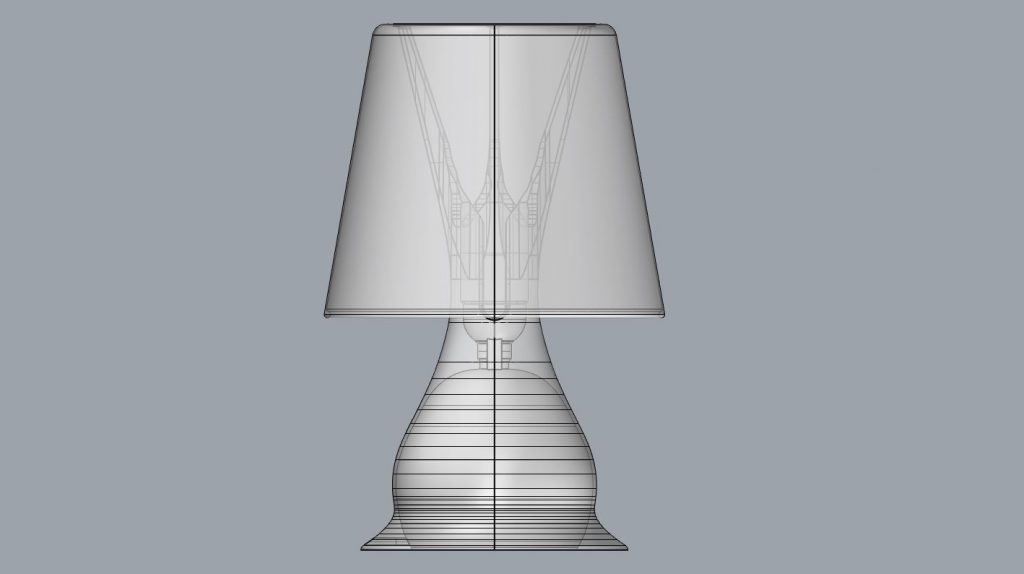
Thanks to my original design, I already had a good head start on the CAD. I started out with a simple 2D drawing of the primary profile curves that I intended for the lamp to have while taking into consideration the size and shape of a light bulb and socket using approximate digital representations of each.
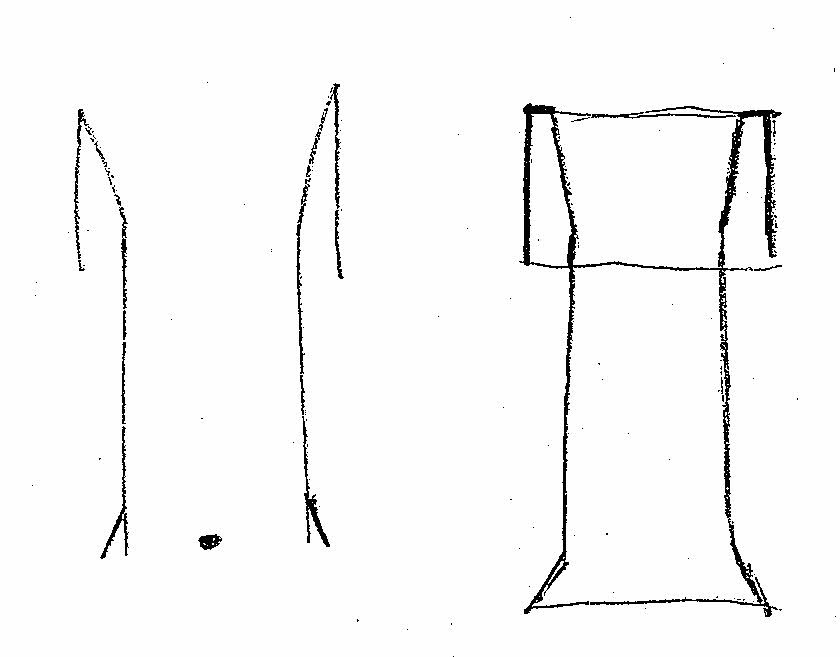
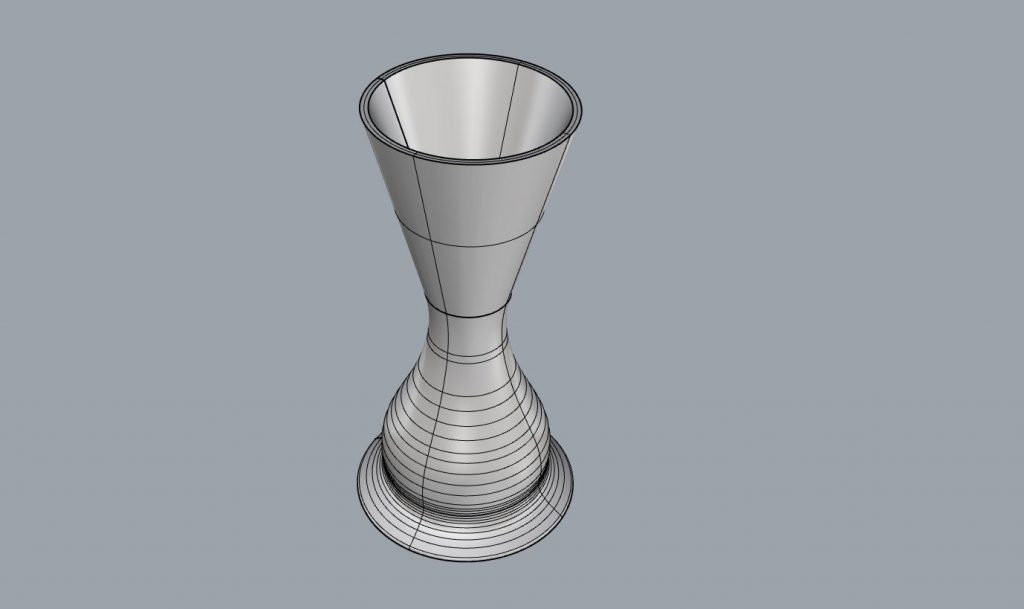
Next I revolved those curves 360 degrees in order to begin creating the first 3D base and shade. While it might look complete already, I had a few more steps left to make sure the lamp would 3D print without issue, and that everything would fit when assembled in the end.
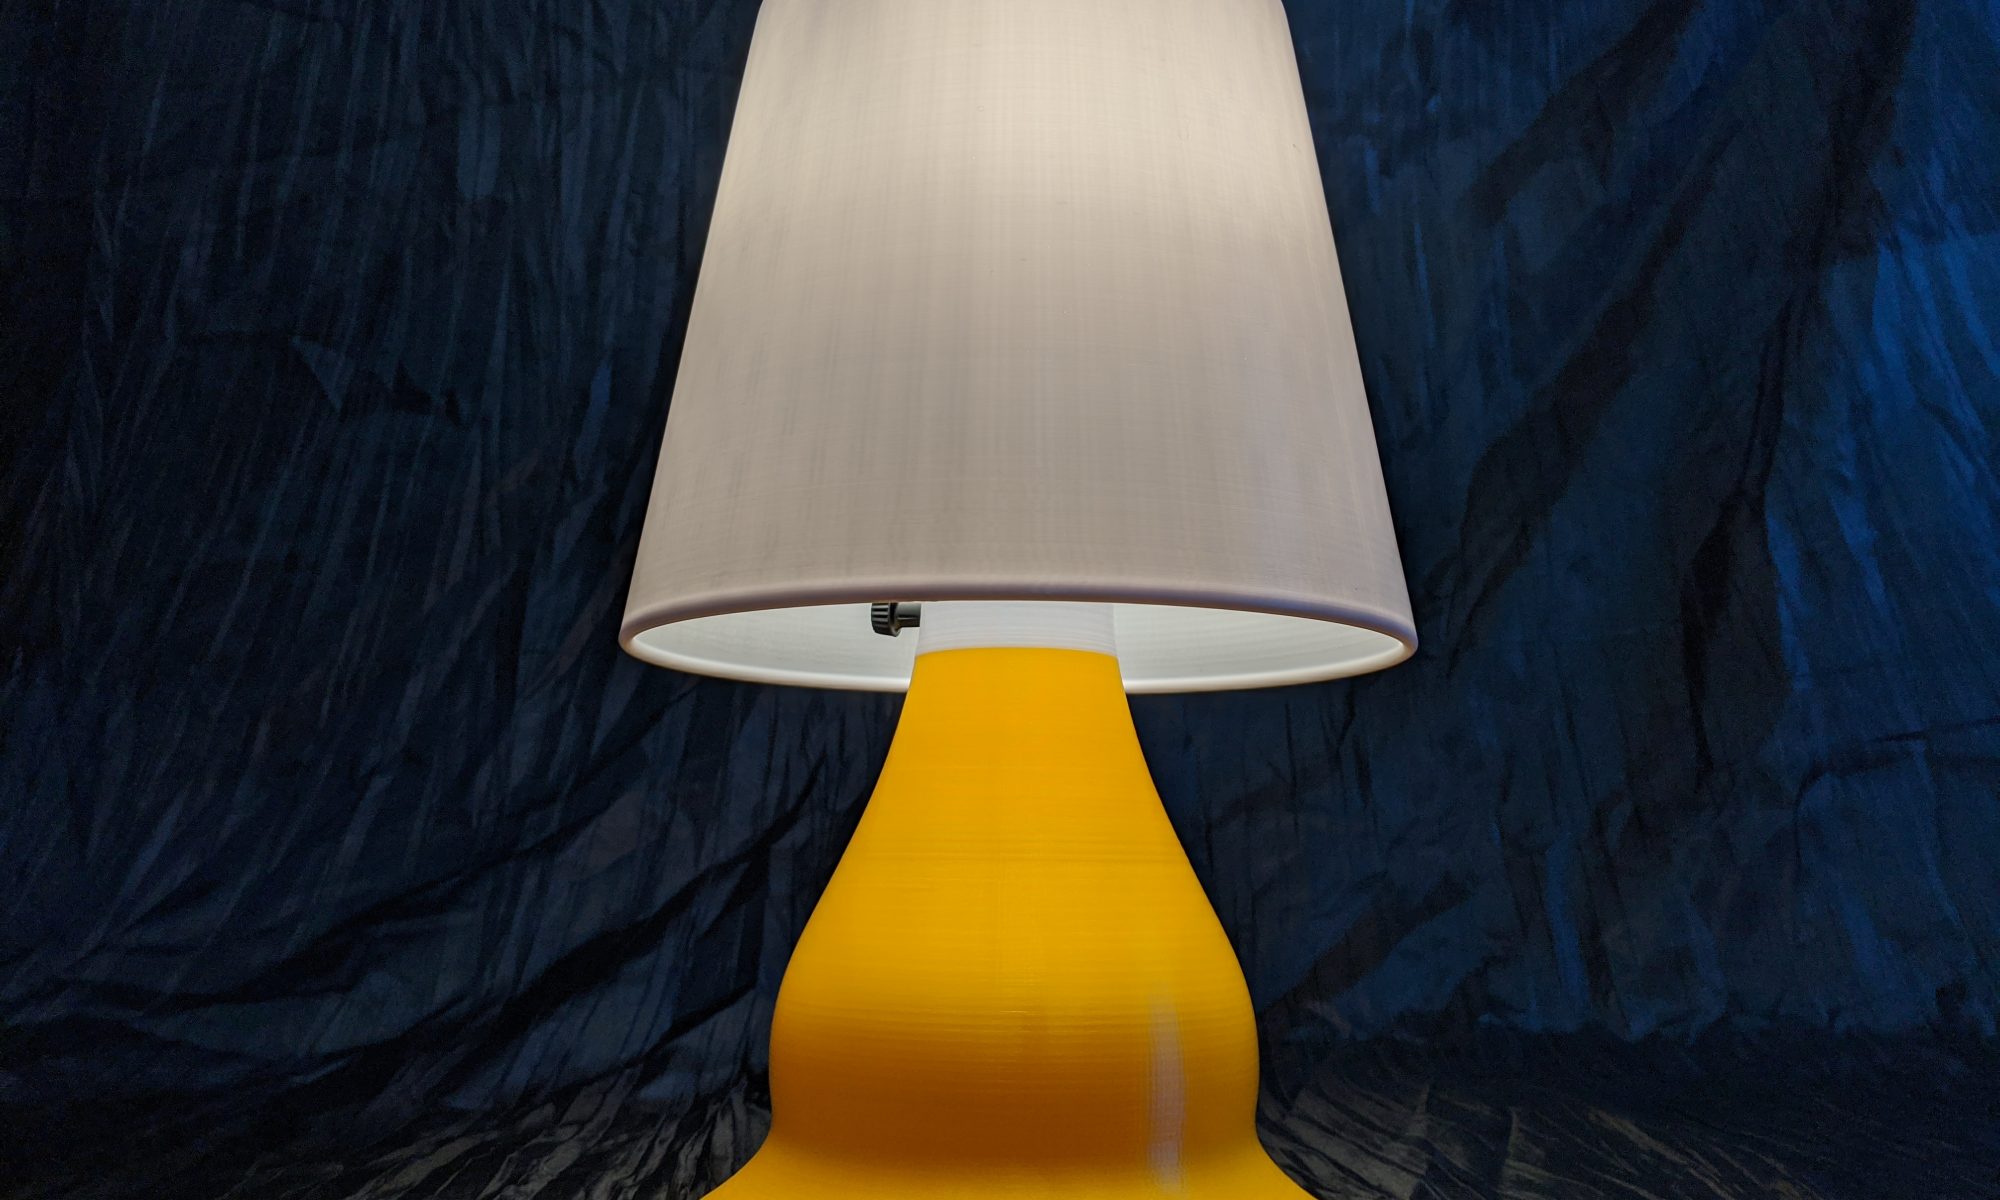
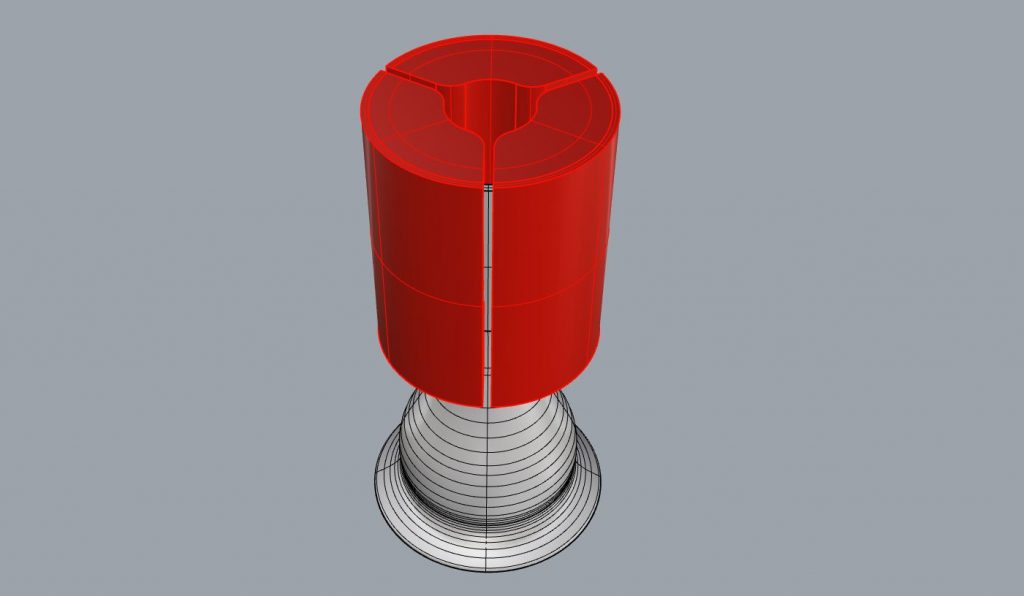
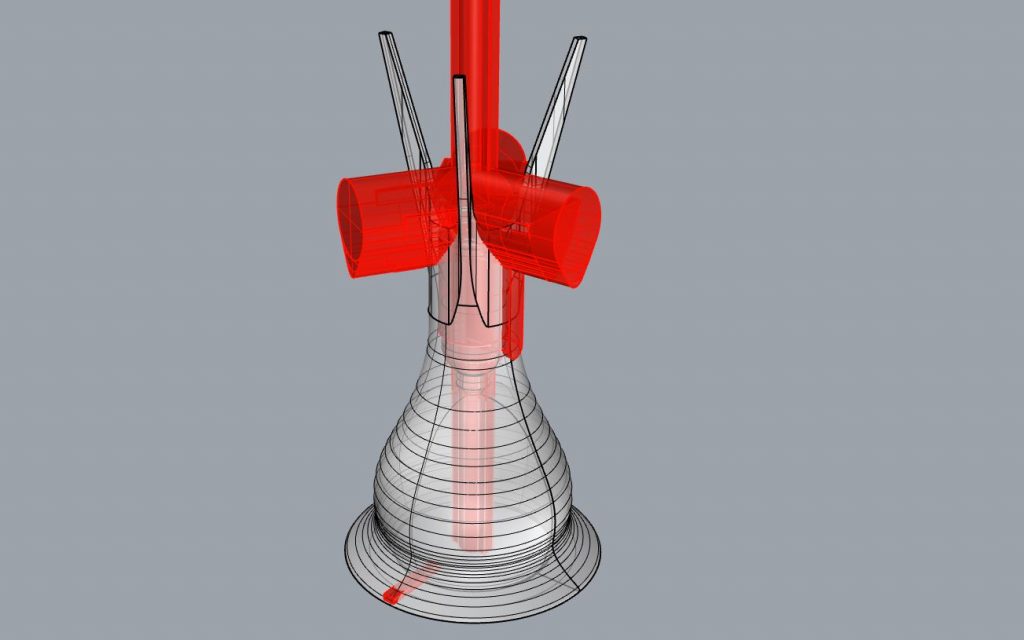
Then I created a few negative 3D objects (in red below) that were used to remove excess material from the base of the lamp. More specifically the negatives were used to create cutouts for routing the power wire, fitting the light socket, and for making the design generally more 3D printable.
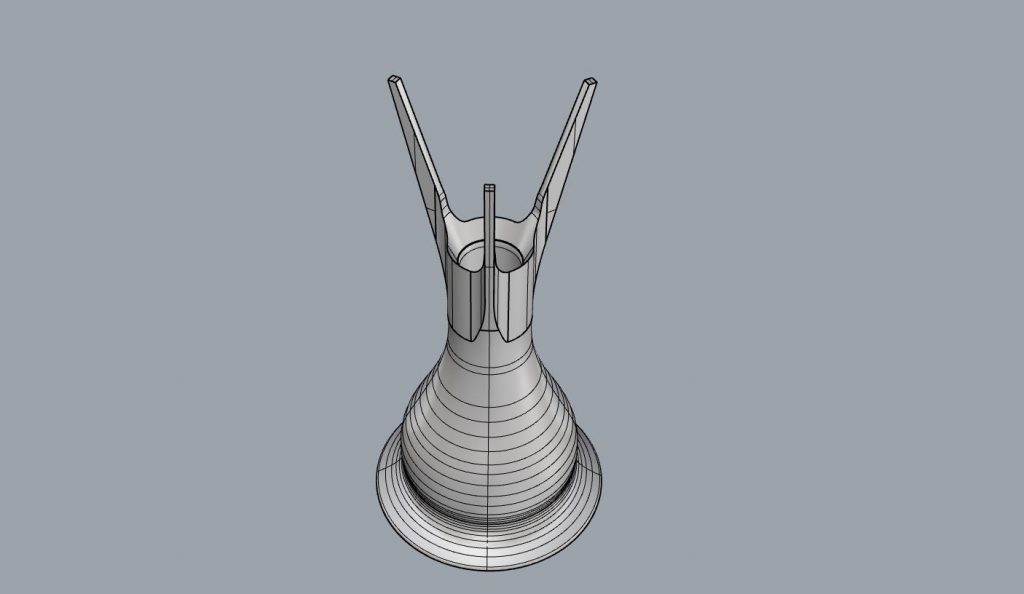
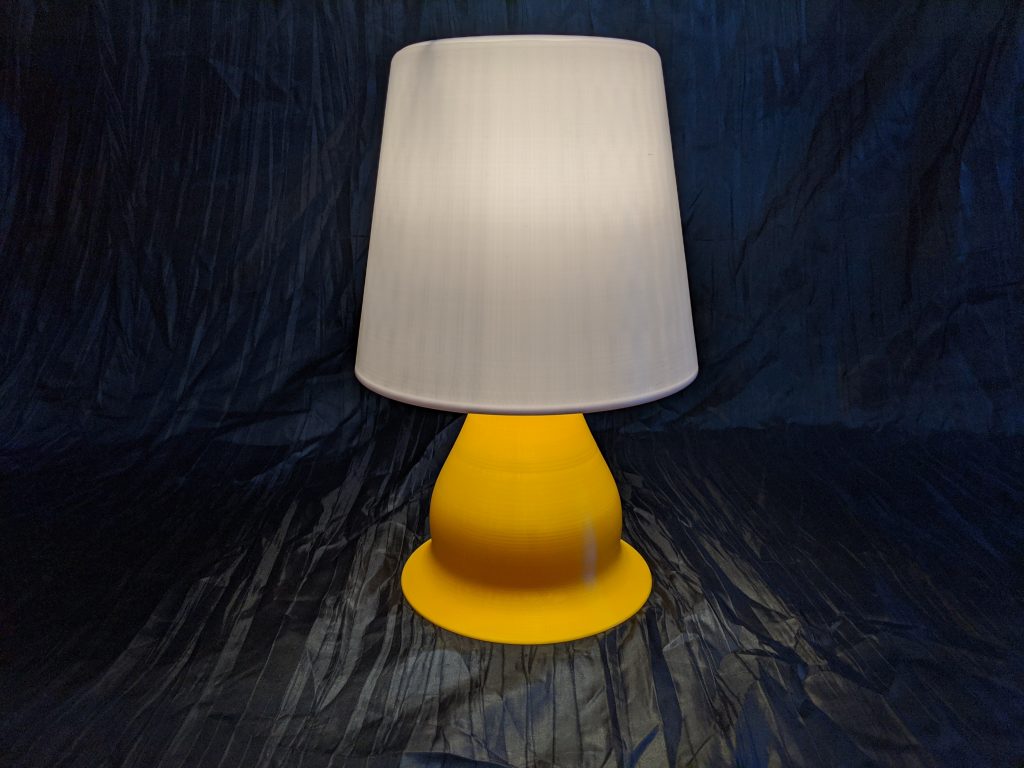
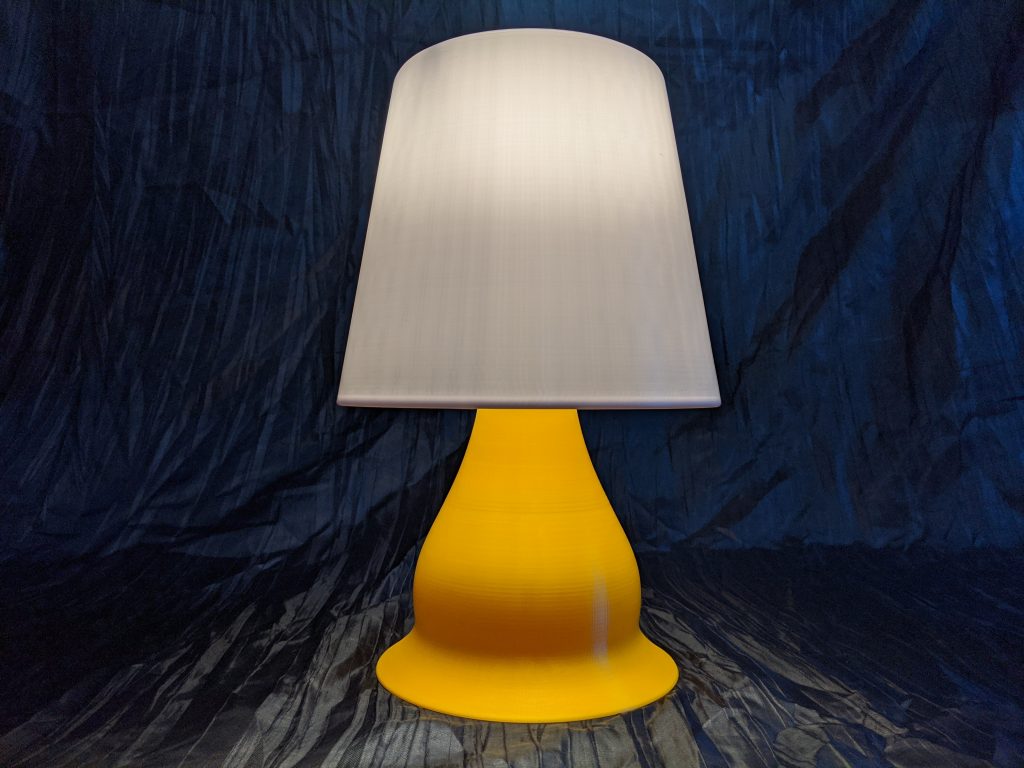
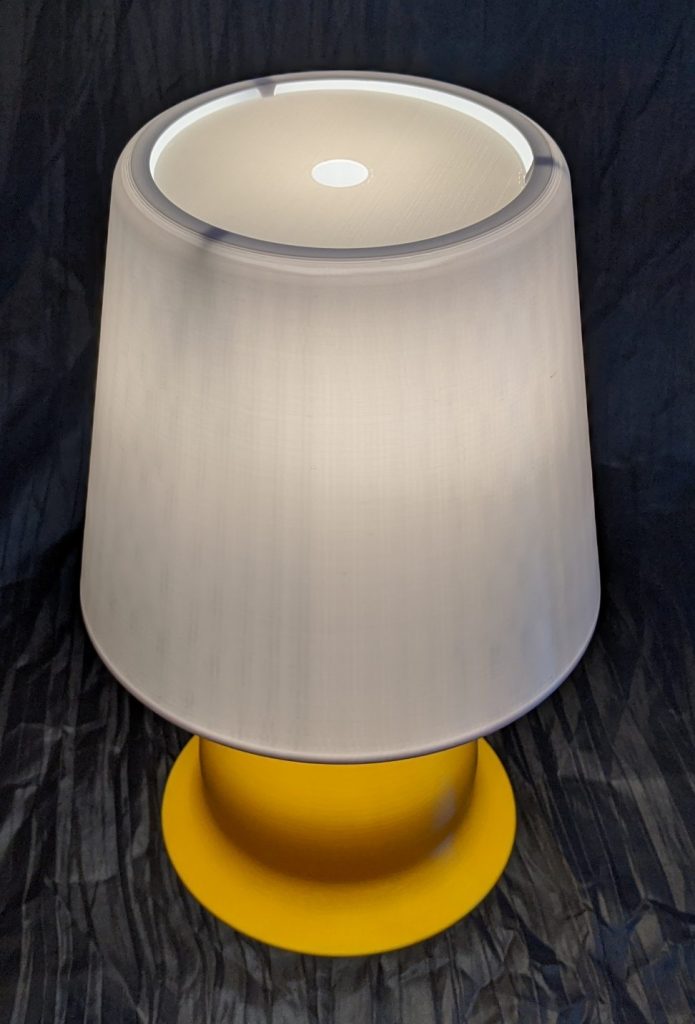
Lastly I joined the base and shade together, added a few final fillets and chamfers, and voila! New and improved 3D printable lamp! Okay, it definitely was not that quick and simple. I actually iterated over 10 more times (since the original 2017 design), mostly just in Rhino, and I did print another lamp or two before settling on this final design.
Fabrication (3D Printing Time!)
As I mentioned above, I was so excited to see this work, that I designed and printed a few iterations before settling on this final design which I think is nearly perfect! A few test prints before this one failed due to a faulty spoke design, while a couple other designs had slight socket mounting/fit issues… but everything has been optimized to my liking now.
As you might have noticed from the photos and the time-lapse above, I am quickly pausing and swapping out the filament as soon as the shade is finished printing so that the base can have a different color for more personality!
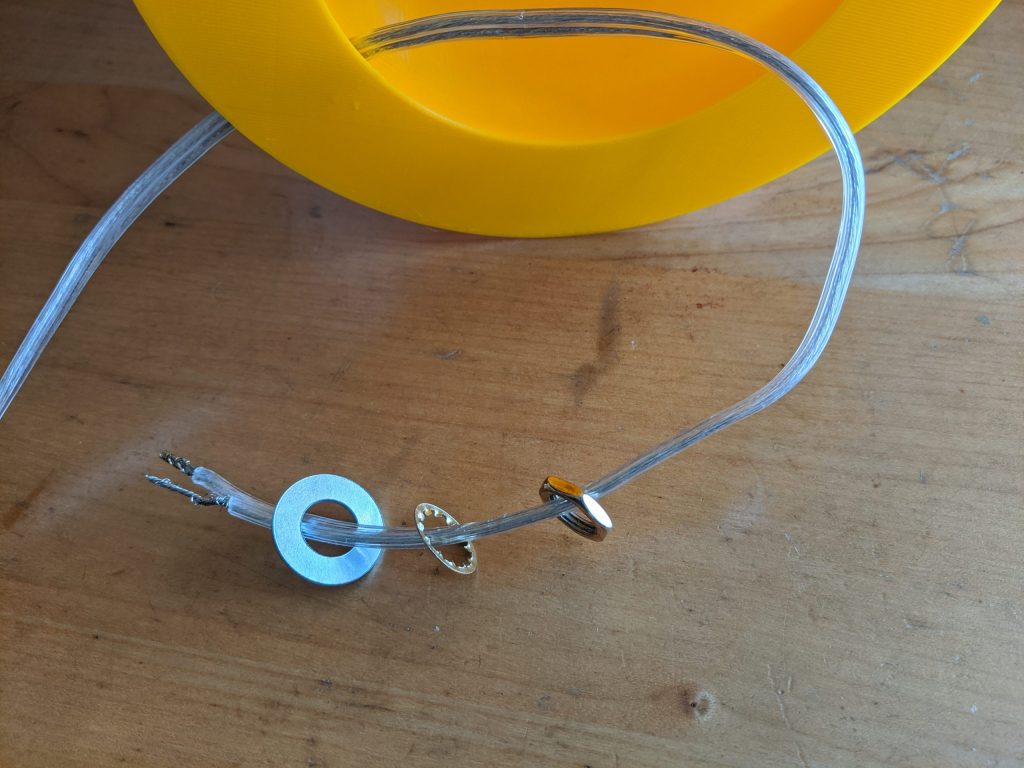
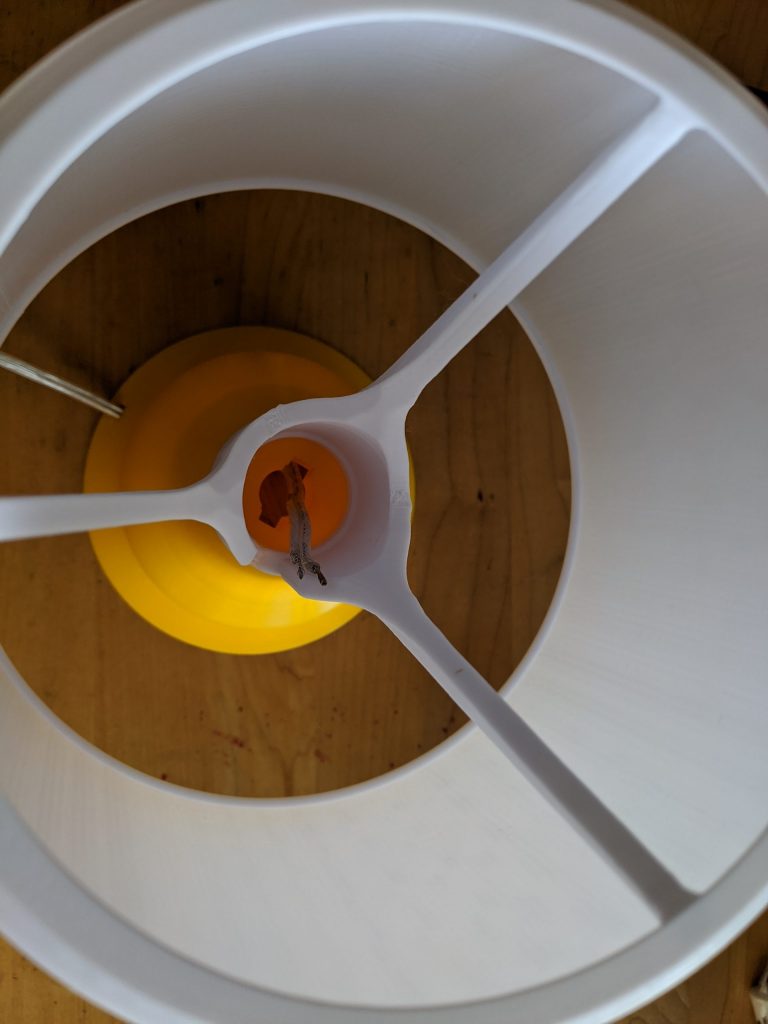
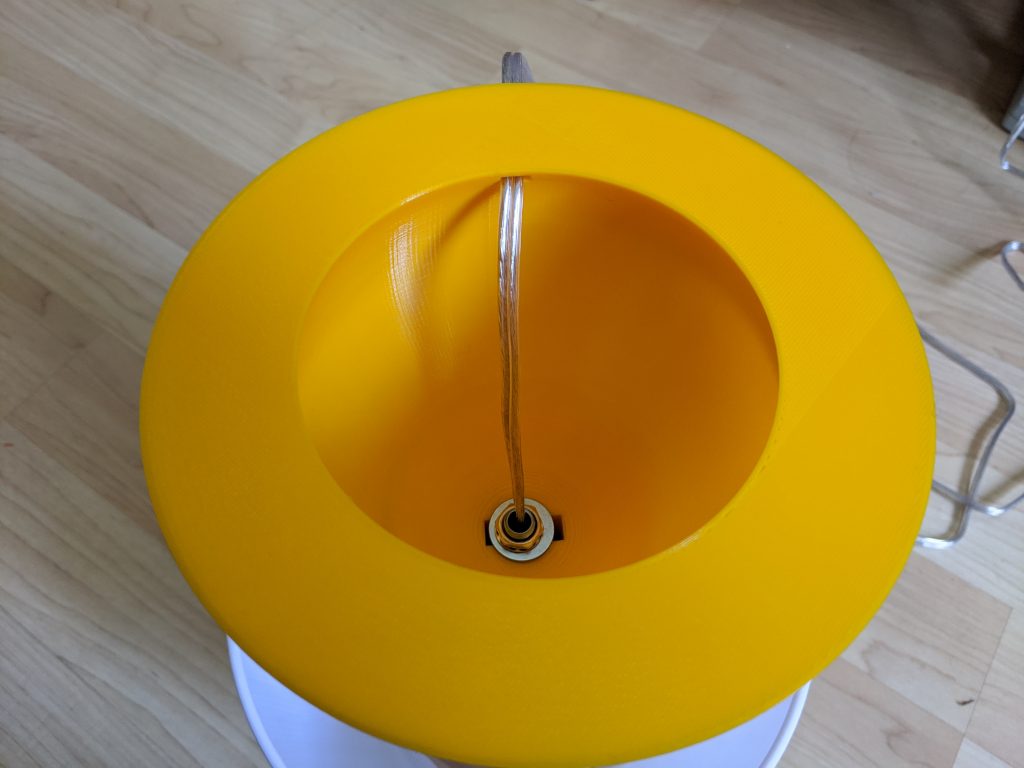
Assembly is pretty easy once the 3D printing is complete. First route your wire through the first hole in the base. Next add any nuts or washers that may be necessary to get your hardware fastened properly. Feed the wire up through the second hole in the base. Wire up your socket (I used a 1 inch lamp nipple which was just right) and push it back down into the socket pocket. Flip the lamp over and tighten down your lock nut.

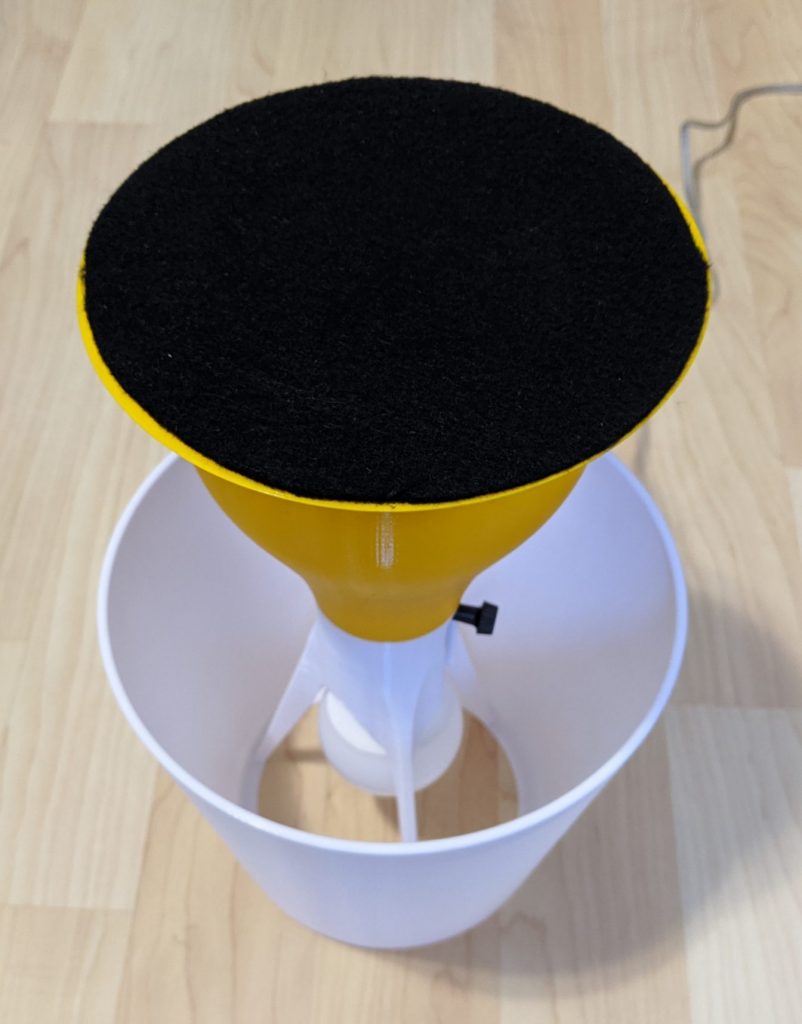
While waiting for the lamp to print (which took about 30 hours…) I came up with a couple finishing touches that I decided to add. First, after seeing modern lamps that come with a light diffusing lid, I figured my lamp should have one too. I mocked up a very quick and simple design that would easily rest on the lamp’s spokes, and could be removed with a finger. After printing it, I realized it could probably just be replaced with an old CD, but I’m sticking with the matching plastic for now. This way you won’t be blinded if you happen to glare down towards the eye of the bulb.
I also realized it might be nice to have some felt on the bottom of the lamp, and covering the hole in the bottom would give it an even cleaner finish. Sooooo, I got some felt with adhesive backing and made a nice circle shaped patch of felt to cover the bottom of the lamp base.
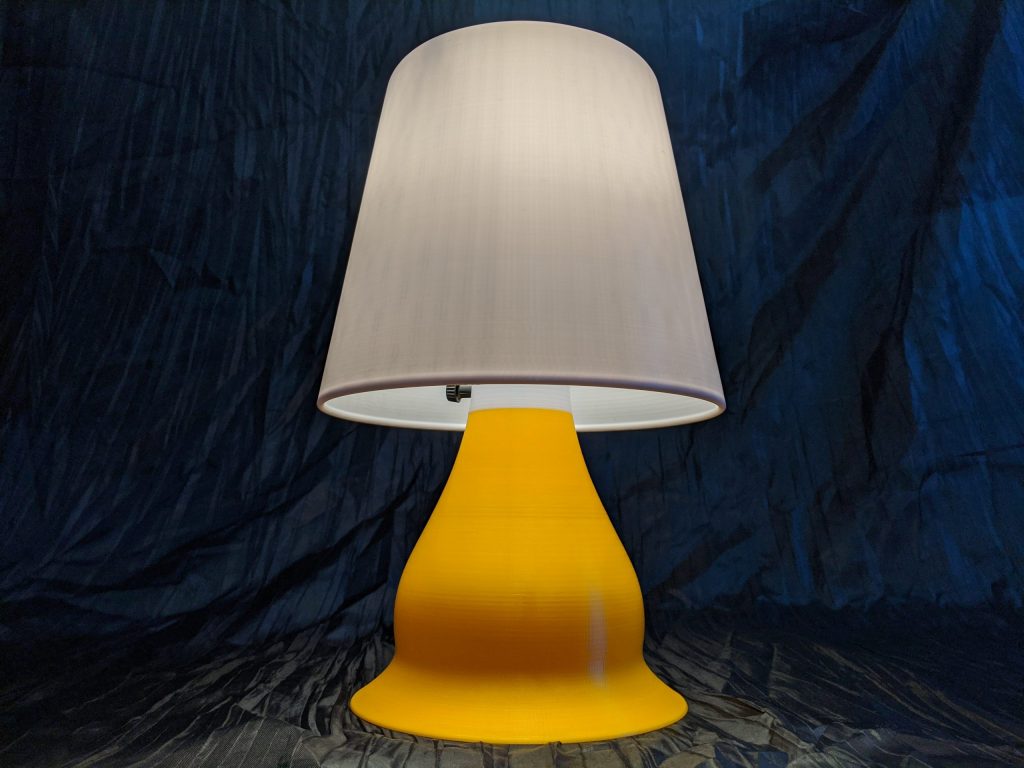
And that is how I created my new and improved 3D Printed Table Lamp.