
Let’s face it: wood-burning fireplaces are charming, until they’re not. Ours? A sad, dusty relic that looked like it belonged in a 1970s horror film. But I didn’t want to rip out the entire fireplace (or my sanity). Enter Home Assistant and a few clever hacks that turned my outdated wood-burning relic into a smart electric fireplace that looks amazing, feels cozy, and integrates seamlessly into my home automation ecosystem—all for under $300.
In this post, I’ll walk you through every step of the transformation, including how I:
- Upgraded the fireplace with a cheap plug-and-play electric fireplace
- Added connected IR control via a Broadlink IR blaster
- Created a custom GUI remote in Home Assistant
- Built a crackling fire sound system using a Raspiaudio MUSE-Proto
- Implemented a virtual thermostat to optimize heating
And yes—affiliate links are included for all the products I used (just look for the [affiliate link] tags). Let’s get started!
🛠️ Step 1: Upgrading the Fireplace (Without a Fire)
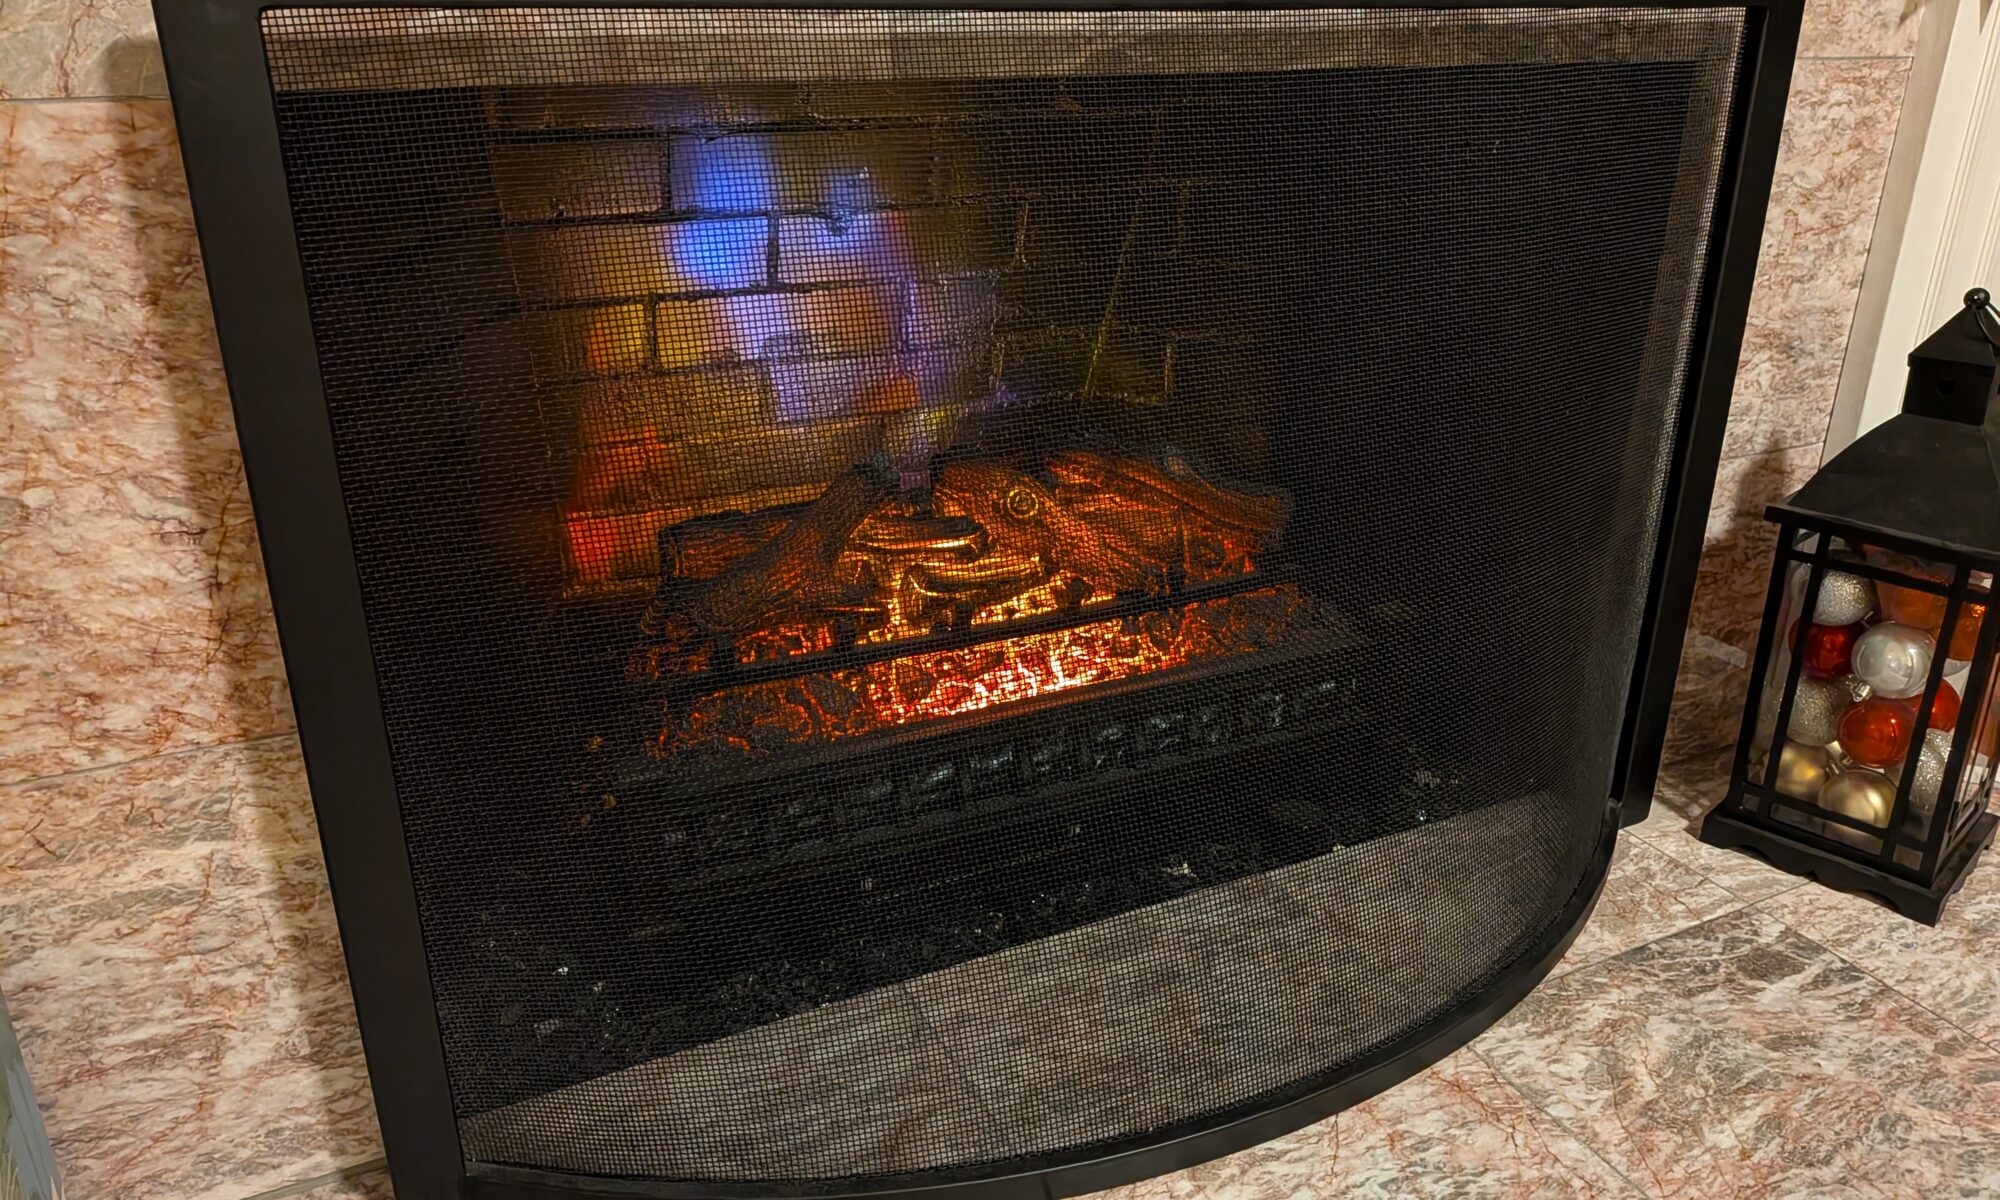
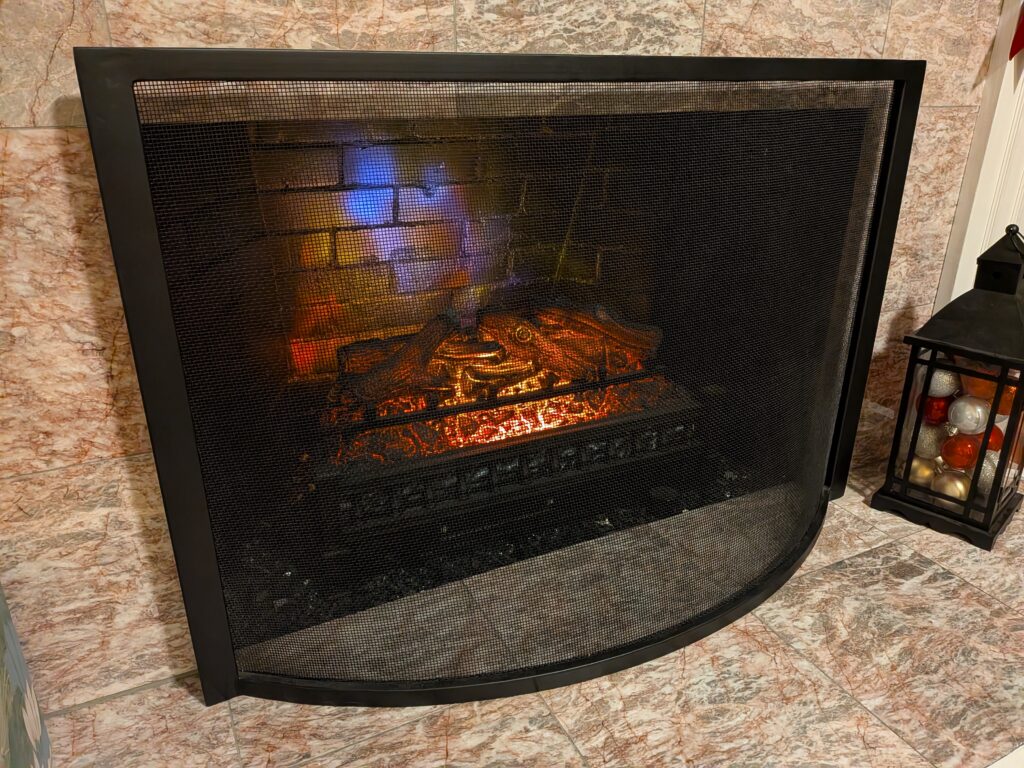
My first task was to make space for the electric fireplace. I added a dedicated electrical outlet inside the fireplace cavity (yes, I had to drill through brick—shudder). I painted the interior walls black for a dramatic, modern look and filled the basin with black glass rocks (I bought broken glass chunks online—[affiliate link] for the glass).
For the fireplace itself, I went with a cheap plug-in remote-controlled electric fireplace (around $150—[affiliate link]), and found a freebie fireplace screen on Craigslist for fun. It looked great, but the real magic came when I added Home Assistant integration.
🌐 Step 2: Controlling the Fireplace with Home Assistant
The electric fireplace came with an IR remote, but I wanted to control it from my phone, voice assistants, and even my Lanbon L8 wall plate flashed with openHASP ([affiliate link]). To do this, I installed a Broadlink RM4 Mini ([affiliate link]) right in front of the fireplace’s IR receiver.
📦 Setting Up the Broadlink IR Blaster
- Pair the Broadlink device with your Home Assistant instance via the Broadlink integration.
- Use the remote.learn_command in Home Assistant to teach the Broadlink device the codes from your fireplace remote.
- Create template switches in
configuration.yamlto mimic the fireplace’s power and on/off states. - Create scripts in the Home Assistant GUI to handle some of the quirks of controlling the cheap fireplace’s heater.
Expand for switch YAML code
switch:
  - platform: template
    switches:
      fireplace:
        friendly_name: 'Fireplace'
        turn_on:
          service: remote.send_command
          target:
            entity_id: remote.living_room_ir_remote
          data:
            num_repeats: 1
            delay_secs: 0.4
            hold_secs: 0
            device: Fireplace
            command: power
        turn_off:
        - if:
              condition: state
              entity_id: switch.fireplace_heat
              state: 'on'
          then:

            service: remote.send_command
            target:
              entity_id: remote.living_room_ir_remote
            data:
              num_repeats: 1
              delay_secs: 0.4
              hold_secs: 0
              device: Fireplace
              command:
                - temperature
                - temperature
                - power
          else:
            service: remote.send_command
            target:
              entity_id: remote.living_room_ir_remote
            data:
              num_repeats: 1
              delay_secs: 0.4
              hold_secs: 0
              device: Fireplace
              command: power
      fireplace_heat:
        friendly_name: 'Fireplace Heat'
        turn_on:
          - service: remote.send_command
            target:
              entity_id: remote.living_room_ir_remote
            data:
              num_repeats: 1
              delay_secs: 0.4
              hold_secs: 0
              device: Fireplace
              command: temperature
          - delay:
              hours: 0
              minutes: 0
              seconds: 15
              milliseconds: 0
        turn_off:
          service: remote.send_command
          target:
            entity_id: remote.living_room_ir_remote
          data:
            num_repeats: 1
            delay_secs: 0.4
            hold_secs: 0
            device: Fireplace
            command:
              - temperature
              - temperature
      living_room_heat_helper:
        friendly_name: 'Living Room Heat Helper'
        turn_on:
          service: script.living_room_heat_helper
        turn_off:
          service: script.living_room_heat_off_helper
(Replace remote.living_room_ir_remote, switch.fireplace_heat, script.living_room_heat_helper, and script.living_room_heat_off_helper with your actual device and script names.)
Expand for heat helper script YAML code
alias: Living Room Heat Helper
sequence:
  - if:
      - condition: state
        entity_id: switch.fireplace
        state: "on"
    then:
      - if:
          - condition: state
            entity_id: switch.fireplace_heat
            state: "off"
        then:
          - action: switch.toggle
            metadata: {}
            data: {}
            target:
              entity_id: switch.fireplace_heat
            enabled: true
    else:
      - if:
          - condition: state
            entity_id: switch.fireplace_heat
            state: "on"
        then:
          - action: switch.turn_on
            metadata: {}
            data: {}
            target:
              entity_id: switch.fireplace
        else:
          - action: switch.turn_on
            metadata: {}
            data: {}
            target:
              entity_id: switch.fireplace
          - delay:
              hours: 0
              minutes: 0
              seconds: 0
              milliseconds: 500
          - action: switch.turn_on
            metadata: {}
            data: {}
            target:
              entity_id: switch.fireplace_heat
description: ""
icon: mdi:sofa
(Replace switch.fireplace and switch.fireplace_heat with your actual device names.)
Expand for heat turn off helper script YAML code
alias: Living Room Heat Off Helper
sequence:
  - action: switch.turn_off
    metadata: {}
    data: {}
    target:
      entity_id: switch.fireplace_heat
description: ""
(Replace switch.fireplace_heat with your actual device name.)
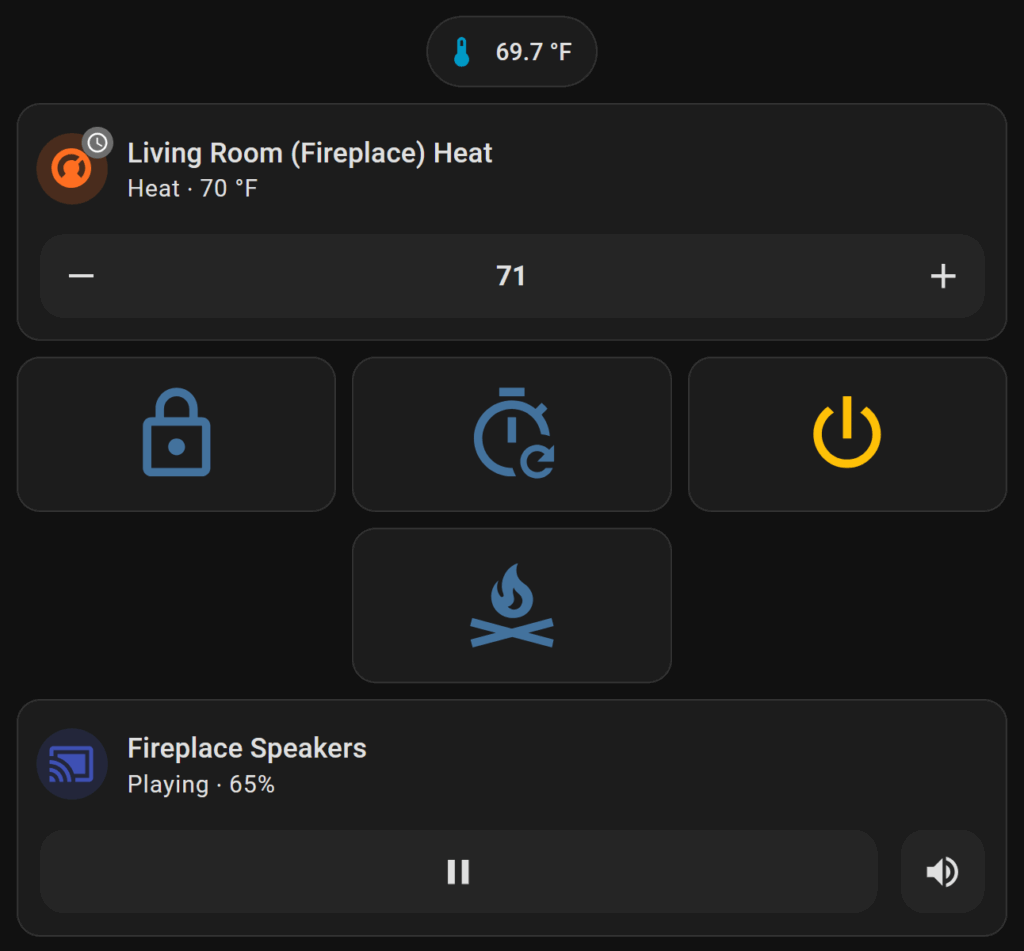
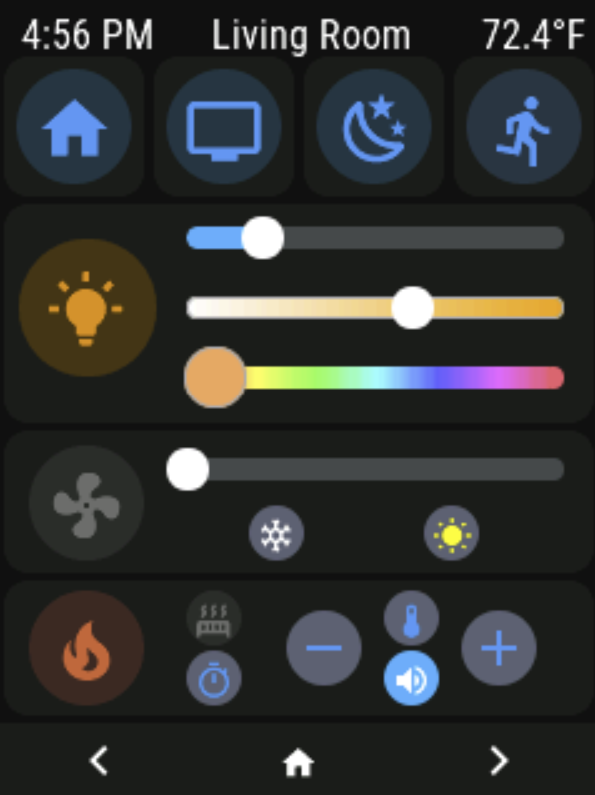
🖼️ Step 3: Building a Custom GUI Remote in Home Assistant
Who wants to use a physical remote when you can click a button on your phone? I created a custom fireplace section in my Home Assistant dashboard using Lovelace and few different cards.
Here’s a simplified version of the card configuration:
Expand for thermostat card YAML code
type: custom:mushroom-climate-card
entity: climate.living_room_heat
fill_container: false
show_temperature_control: true
collapsible_controls: true
name: Living Room (Fireplace) Heat
grid_options:
  columns: full
(Replace climate.living_room_heat with your actual device name.)
Expand for remote control button YAML code
type: vertical-stack
cards:
  - type: horizontal-stack
    cards:
      - show_name: false
        show_icon: true
        type: button
        tap_action:
          action: call-service
          service: remote.send_command
          target:
            entity_id: remote.living_room_ir_remote
          data:
            num_repeats: 1
            delay_secs: 0.4
            hold_secs: 0
            device: Fireplace
            command: lock
        icon: mdi:lock-outline
      - show_name: false
        show_icon: true
        type: button
        tap_action:
          action: call-service
          service: remote.send_command
          target:
            entity_id: remote.living_room_ir_remote
          data:
            num_repeats: 1
            delay_secs: 0.4
            hold_secs: 0
            device: Fireplace
            command: timer
        icon: mdi:timer-refresh-outline
      - show_name: false
        show_icon: true
        type: button
        tap_action:
          action: call-service
          service: switch.toggle
          target:
            entity_id: switch.fireplace
          data: {}
        icon: mdi:power
        show_state: false
        entity: switch.fireplace
  - type: horizontal-stack
    cards:
      - type: custom:button-card
        color_type: blank-card
      - show_name: false
        show_icon: true
        type: button
        tap_action:
          action: call-service
          service: remote.send_command
          target:
            entity_id: remote.living_room_ir_remote
          data:
            num_repeats: 1
            delay_secs: 0.4
            hold_secs: 0
            device: Fireplace
            command: color
        icon: mdi:campfire
      - type: custom:button-card
        color_type: blank-card
(Replace remote.living_room_ir_remote, switch.fireplace, and commands with your actual device names and commands.)
🎵 Step 4: Adding “Crackling Fire” Sounds
The electric fireplace had no sound, but I had to have that crackling fire effect. Enter the Raspiaudio MUSE-Proto ([link])—an ESP32-based audio device that I paired with Squeezelite and Logitech Music Server (now Lyrion Music Server).
🎧 Setup Steps:
- Install Squeezelite on the MUSE-Proto using the web flasher (here).
- Connect some small cheap speakers ([affiliate link]).
- Use Lyrion Media Server to stream a free “fire crackling” sound loop (I found one under Lyrion’s Apps section > Sounds & Effects > Natural Sounds > Fire).
- Create a Home Assistant automation to start/stop the sound when the fireplace is on/off:
Expand for “fire crackling” sound automation YAML code
alias: Fireplace Sounds
description: ""
mode: single
triggers:
  - entity_id:
      - switch.fireplace
    to: "on"
    id: "On"
    trigger: state
  - entity_id:
      - switch.fireplace
    to: "off"
    id: "Off"
    trigger: state
conditions: []
actions:
  - choose:
      - conditions:
          - condition: trigger
            id:
              - "On"
        sequence:
          - data: {}
            target:
              entity_id: media_player.fireplace
            action: media_player.turn_on
          - data: {}
            target:
              entity_id:
                - media_player.fireplace
            action: media_player.media_play
      - conditions:
          - condition: trigger
            id:
              - "Off"
        sequence:
          - data: {}
            target:
              entity_id: media_player.fireplace
            action: media_player.turn_off
(Replace switch.fireplace and media_player.fireplace with your actual device names.)
🌡️ Step 5: Building a Virtual Thermostat with Home Assistant
The electric fireplace had a lousy built-in thermostat, so I replaced it with a Generic Thermostat integration in Home Assistant.
🧭 How It Works:
- I used an Aqara Zigbee Temperature and Humidity Sensor ([affiliate link]) to monitor room temperature.
- Configured a generic thermostat in the Home Assistant Helper GUI.

Now, Home Assistant automatically turns the fireplace on/off based on the room’s actual temperature—no more guessing games!
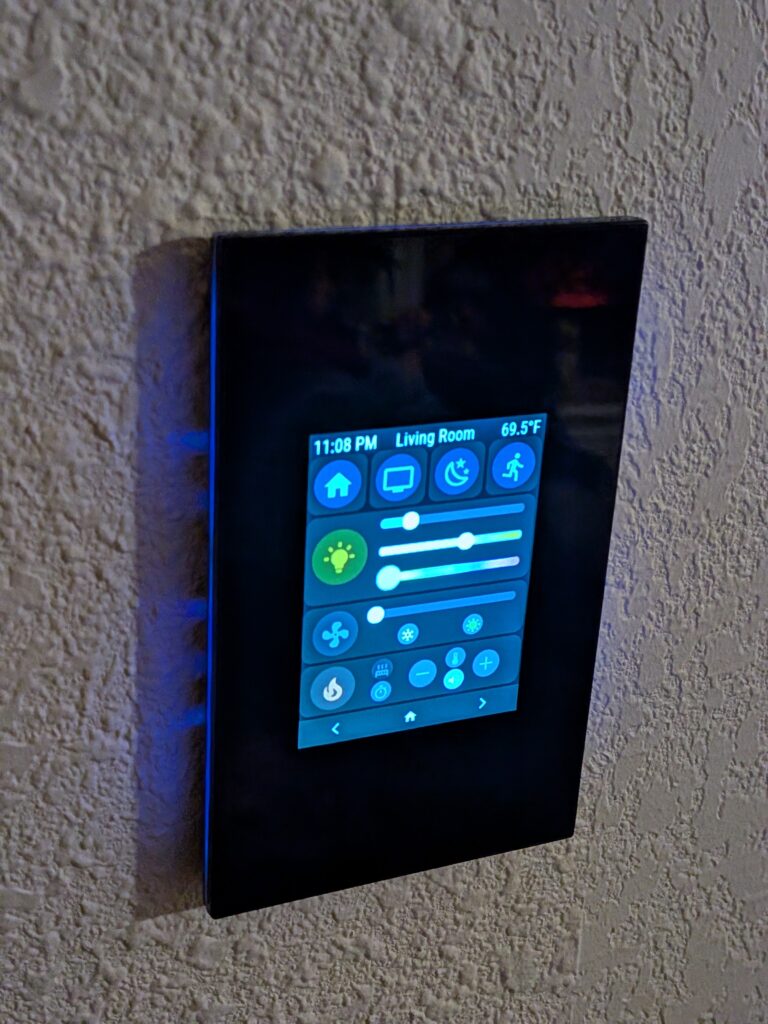
🎉 Final Touches: Integrating with openHASP
I even added some custom buttons and a thermostat page to my openHASP Lanbon L8 wall plate ([affiliate link]) to conveniently control the fireplace alongside my lights and security system. The openHASP setup was relatively straightforward—just map the newly added buttons and thermostat to the appropriate entities in Home Assistant.

💡 Final Thoughts: Why This Works (and Why You Should Try It)
This project wasn’t about luxury—it was about creativity, affordability, and control. By repurposing an old fireplace and leveraging Home Assistant’s power, I created a system that’s:
- Cheaper than buying a new smart fireplace.
- Customizable to my exact needs (sound, thermostat, GUI).
- Scalable—I could add more sensors, automate other devices, or even integrate with Alexa/Google Home.
🛒 Ready to Upgrade Your Fireplace?
Here are the products I used (affiliate links included for your convenience):
- [Electric Fireplace](affiliate link)
- [Broadlink RM Mini 3](affiliate link)
- [Raspiaudio MUSE-Proto](link)
- [Cheap Speakers](affiliate link)
- [Aqara Zigbee Temperature and Humidity Sensor](affiliate link)
- [openHASP Lanbon L8](affiliate link)
📝 Final Thoughts
This project was a labor of love—but the result is a fireplace that looks stunning, feels cozy, and thinks for itself. Whether you’re a Home Assistant pro or just starting out, this guide shows how even the most “lame” old appliance can be transformed into a smart home centerpiece.
What’s your favorite smart home hack? Share your ideas in the comments below! 🔥